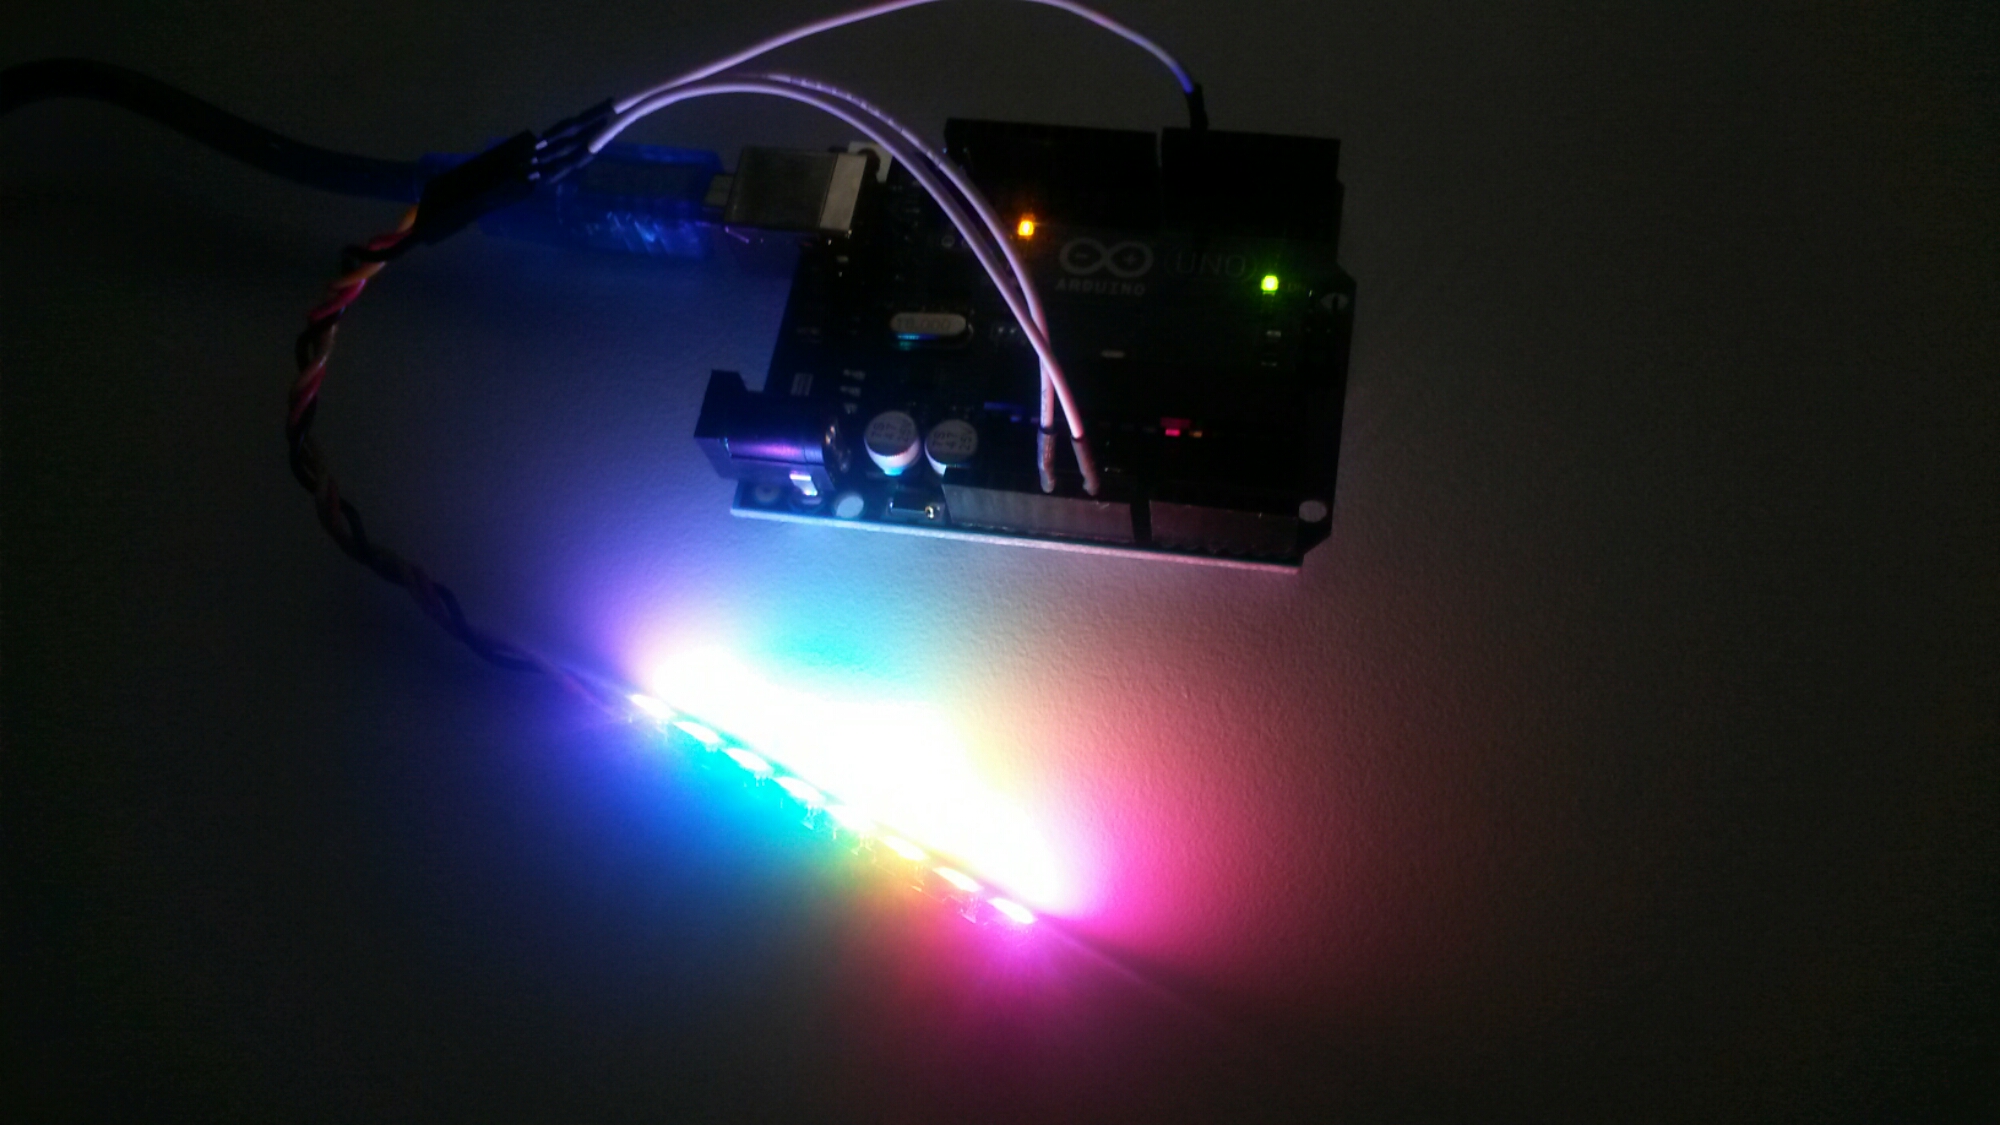
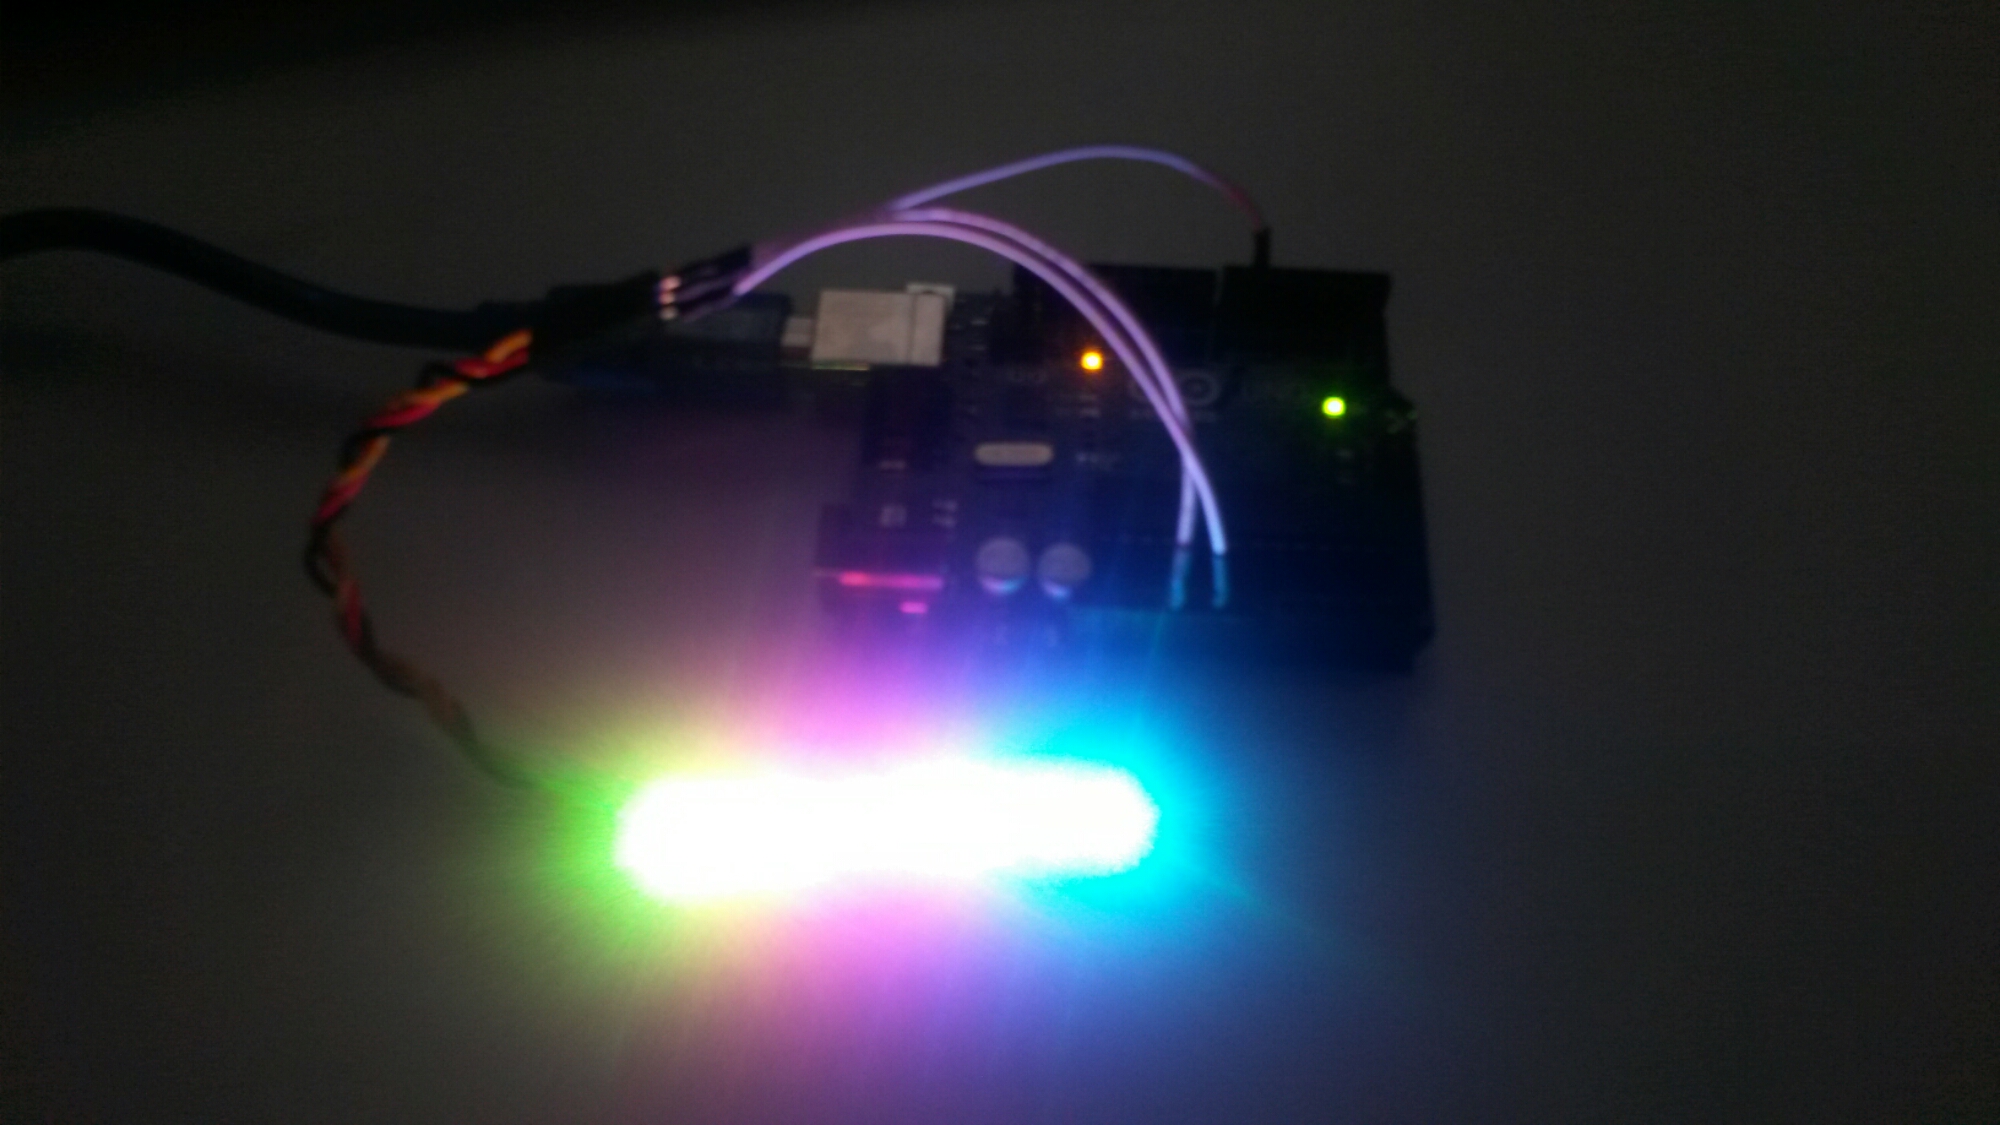
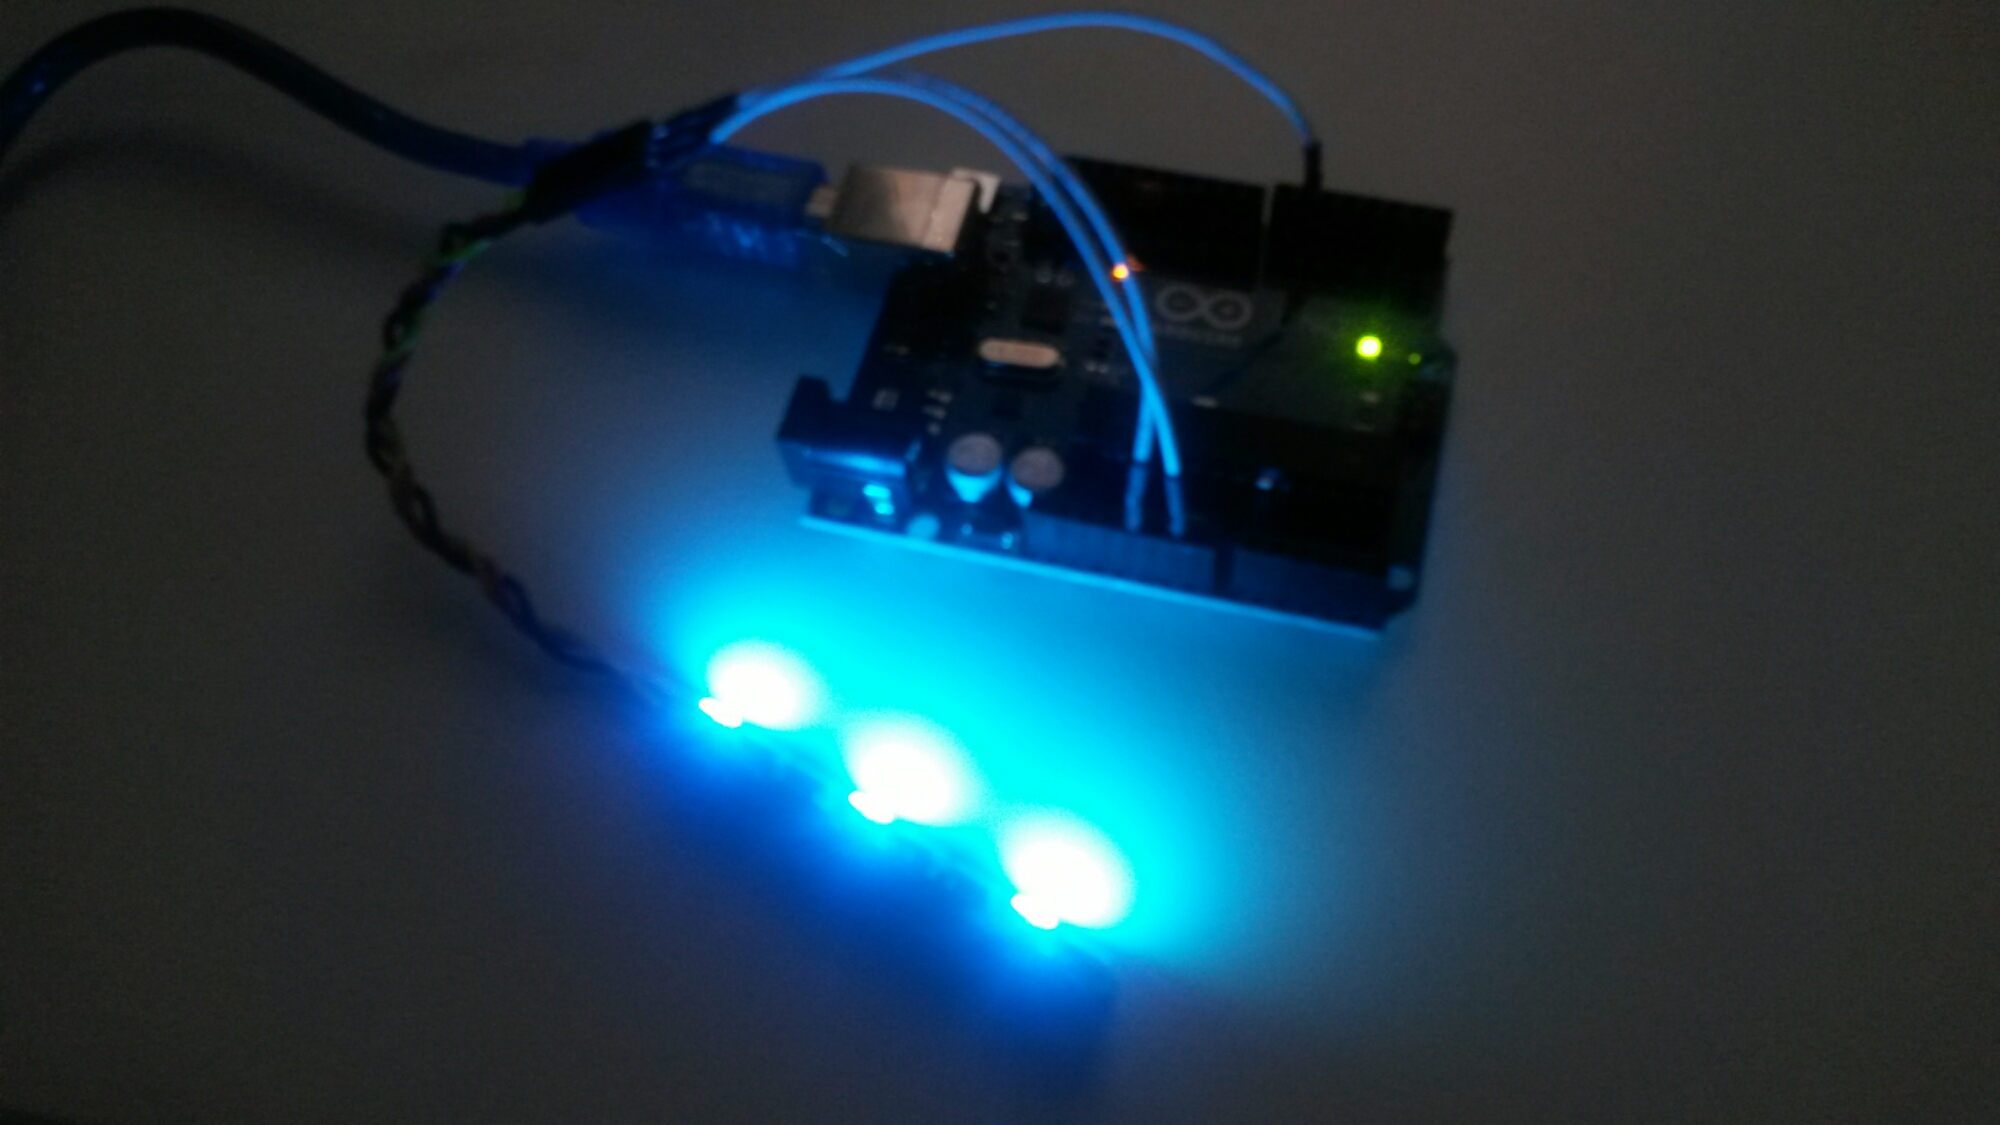
RGB LEDs are awesome – especially the new, fancy ones with the WS2812 RGB LED driver. These LEDs can be individually controlled to display red, green, and blue, but interfacing them with a microcontroller or computer.
To test controlling WS2812 RGB LEDs I bought a cheap addressable LED strip. An addressable RGB LED strip is a long flexible strand of LEDs each of which can be individually set to a certain color (hence: addressable). By varying the level of red, green and blue (RGB) per LED many color combinations can be made. Addressable LED promise is to be an easy way to add complex lighting effects to any project. WS2812 neopixels are addressable RGB LEDs. The integrated controller chip allows you to change the color of the LED and address each individual LED. ThoseWS2812 LEDs are powered with 5V – 7V power source (60 mA power consumption) and are controlled through a serial bus (one control signal).
I planned to use either Arduino or ESP8266 to control those LEDs. After some looking on vailable examples and technical data on the LEDs, I planned to use Arduino (Arduno Uno), because it’s 5V power and 5V logic level is directly suitable. And there are many Arduino tutorials for WS2812.
To get easy start, I planned to follow instructions fro Arduino Addressable LEDs & Splendid Projects page. That page had an example source code that looked to be useful and simple wiring instructions.
In the first test I fould out that in addition to the source code I also needed NeoPixel Arduno library. So I needed to get the library from https://github.com/adafruit/Adafruit_NeoPixel and install it according to instructions. After downloading, I had to rename folder to ‘Adafruit_NeoPixel’ and move it to Arduino Libraries folder. After restarting Arduino IDE , I opened File->Sketchbook->Library->Adafruit_NeoPixel->strandtest sketch example file. This worked well. I also tried the original code fromArduino Addressable LEDs & Splendid Projects page which I modified to use 8 LEDs instead of one. Both examples made a “random” color light show on my LED strip. Enough for first testing.


302 Comments
Tomi Engdahl says:
My Baby’s Got LED Board Can Drive NeoPixels Using an ATX Power Supply
This custom ESP8266 board runs on a standard PC ATX power supply to drive a string of RGB LEDs.
https://www.hackster.io/news/my-baby-s-got-led-board-can-drive-neopixels-using-an-atx-power-supply-e1474db70dfb
Tomi Engdahl says:
https://hackaday.io/project/177028-diy-arduino-1d-pong-game-with-ws2812-led-strip
Tomi Engdahl says:
Learn How to Build Microcontroller and IC-Free NeoPixels!
https://www.hackster.io/news/learn-how-to-build-microcontroller-and-ic-free-neopixels-36826f8538b1
Gammawave’s Discrete Chain Link Oscillator achieves NeoPixel-like effects without a microcontroller or any integrated circuits at all.
Tomi Engdahl says:
#superlightingled
Six Steps to Make an Addressable Neon Lights – How to Pass Flexible LED Strip Through The Neon Tube
https://www.youtube.com/watch?v=RrK0-8Ix3Ow
This video will demonstrate how to make the addressable WS2811/WS2815 LED strip to pass through the neon tube to make a complete neon flex lights.
Tomi Engdahl says:
Smartphone Control RGB Scrolling Text Display LED Matrix
https://www.youtube.com/watch?v=mTdiO4Nka6o
Hello friends, In this video you get the procedure to make Bluetooth control RGB LED scrolling text dispaly. Its also called RGB LED matrix display. This panel matrix size is 32 X 8.
http://easytechlearn.com/2020/05/17/how-to-make-bluetooth-control-rgb-scrolling-text-display/
https://play.google.com/store/apps/details?id=com.easy.tech.rgbledmatrixcontrol
Tomi Engdahl says:
https://hackaday.com/2021/04/03/you-can-now-build-your-own-glowing-led-d20-with-a-whopping-2400-leds/
Tomi Engdahl says:
NeoPill Is an STM32-Powered NeoPixel Emulator
NeoPill uses a Blue Pill board and Python to emulate NeoPixels on a PC graphically.
https://www.hackster.io/news/neopill-is-an-stm32-powered-neopixel-emulator-46079243a982
NeoPixels are great for custom lighting solutions for any number of projects, but they can be a hassle when it comes to testing different pixel patterns. Experimenting with different patterns on NeoPixels strips can be time-consuming for testing, as each change requires recompiling and reuploading the software. To that end, electronics enthusiast Randy Elwin has developed a way for users to make changes to their NeoPixel patterns and port them over in a fraction of the time. It also lets them quickly add up to 1000 NeoPixels to their projects while still changing custom patterns.
“NeoPill converts the NeoPixel serial data into bytes and sends those bytes to a PC over USB,” Elwin states in his project blog. “However, NeoPixel data is always written as a frame, where all the LEDs in a string are written, followed by a short pause called Data Latch. When the code running on the PC is ready for pixel data, it expects to be synced with a frame. Once synced, the pixel data streams out, and there is no other syncing involved.”
Elwin created the emulation code using Python, and while the NeoPixel library uses C++, he managed to port most functions from the library to the emulator.
Tomi Engdahl says:
NeoPill Is The NeoPixel Emulator You’ve Always Wanted
https://hackaday.com/2021/05/26/neopill-is-the-neopixel-emulator-youve-always-wanted/
Tomi Engdahl says:
https://hackaday.com/2021/06/07/led-matrix-hack-chat/
Tomi Engdahl says:
https://hackaday.com/2021/06/07/portable-digital-scoreboard-goes-anywhere/
Tomi Engdahl says:
Bendy Boards From Geek Mom Projects Demonstrate a Functional Articulated PCB Chain
And of course there are NeoPixels!
https://www.hackster.io/news/bendy-boards-from-geek-mom-projects-demonstrate-a-functional-articulated-pcb-chain-e8eee977c6e4
Tomi Engdahl says:
WiFi Control LED Display to Send message over internet using 8x8Matrix Display and NodeMcu esp8266
https://www.youtube.com/watch?v=mDO0VJicQNs&feature=youtu.be
Tomi Engdahl says:
Use your smartphone to control Wilson the IoT hat
https://blog.arduino.cc/2021/06/21/use-your-smartphone-to-control-wilson-the-iot-hat/
Wearable displays are nothing new, but many of them lack that all-important “fun” element. That’s why OlivierZ over on Instructables created Wilson the IoT hat. The smart hat contains a large 232mm by 22mm flexible LED strip on its front that prominently shows rainbow text across a 71×7 LED matrix. The whole thing runs on a single 9V battery, which powers an Arduino Nano, HC-05 Bluetooth module, and LED matrix. All of these components are nicely tucked away within the top of the hat to prevent wearers from seeing unsightly wires.
Tomi Engdahl says:
Freeform Wearable LED Glasses Display LMFAO-Style Messages
Deepak Khatri’s LED matrix glasses combine freeform electronic sculpting with wearable technology to display scrolling messages.
https://www.hackster.io/news/freeform-wearable-led-glasses-display-lmfao-style-messages-d1ccab59dea5
Tomi Engdahl says:
This lamp consists of 122 LED-lit domes on a sphere, controllable over Bluetooth
https://blog.arduino.cc/2021/08/11/this-lamp-consists-of-122-led-lit-domes-on-a-sphere-controllable-over-bluetooth/
Tomi Engdahl says:
https://hackaday.io/project/181550-rgb-cube-circuit-sculpture
Tomi Engdahl says:
NJV Scoreboard
a simple scoreboard made with NeoPixels and an Arduino Nano for Basketball and to learn programming
https://hackaday.io/project/181757-njv-scoreboard
Tomi Engdahl says:
https://320volt.com/en/led-matrix-studio-arduino-microchip/
Tomi Engdahl says:
Art Project Fast And Fouriously Transforms Audio Into Eye Candy
https://hackaday.com/2021/10/14/art-project-fast-and-fouriously-transforms-audio-into-eye-candy/
Fast Fourier Transforms. Spectrum Analyzers. Waterfall displays. Not long ago, such terms were reserved for high end test gear. But oh, how things have changed! It’s no surprise to many Hackaday readers that modern microcontrollers have transformed the scene as they become more powerful and as a result are endowed with more and more powerful software libraries. [mircemk] has used such a library along with other open source software combined with mostly off the shelf hardware to create what he calls the DIY FFT Spectrum Analyzer. Rather than being a piece of test gear, this artful project aims to please the eye.
The overall build is relatively simple. Audio is acquired via a line-in jack or a microphone, and then piped into an ESP32. The ESP32 runs the audio through the FFT routine, sampling, slicing, and dicing the audio into 16 individual bands. The visual output is displayed on a 16 x 16 WS2812 Led Matrix.
DIY simple FFT Spectrum Analyzer
https://hackaday.io/project/182080-diy-simple-fft-spectrum-analyzer
This is a visually beautiful spectrum analyzer that can also function as an Audio VU Meter and Waterfall Analyzer
Tomi Engdahl says:
DMX control of neopixels, WS2811, WS2812 etc using FastLED Arduino Teensy3.1
https://gist.github.com/hsiboy/7e23ec783d8b2131133f
Tomi Engdahl says:
Arduino based DMX device for controlling NeoPixel and WS2811
http://mathertel.blogspot.com/2017/09/arduino-based-dmx-device-for.html
Tomi Engdahl says:
DIY WS2812 Analog Style Arduino Ring Clock © GPL3+
This is an analog-style digital clock with multiple display states, a 24-hour alarm, a countdown alarm, multiple alarm display states…
https://create.arduino.cc/projecthub/mircemk/diy-ws2812-analog-style-arduino-ring-clock-f58ba6
Tomi Engdahl says:
Chesapeake’s BREADLED Brings WS2812 LEDs to Your Breadboard and Perfboard Projects, Without the Bulk
https://www.hackster.io/news/chesapeake-s-breadled-brings-ws2812-leds-to-your-breadboard-and-perfboard-projects-without-the-bulk-0e55d1d0e401
Open-hardware breakout board offers through-hole compatibility for the popular addressable LEDs — in a very small footprint.
https://github.com/y1ff/breadled
Tomi Engdahl says:
https://github.com/y1ff/breadled
Tomi Engdahl says:
https://hackaday.com/2021/11/04/big-rgb-led-cube-you-can-build-too/
Tomi Engdahl says:
ESP8266 tai ESP32 ja conffaa Wled sinne sisään ja kaikki on valmista
https://github.com/Aircoookie/WLED
Tomi Engdahl says:
Control WS2812B and many more types of digital RGB LEDs with an ESP8266 or ESP32 over WiFi!
https://github.com/Aircoookie/WLED
Tomi Engdahl says:
In this tutorial, Stewart Watkiss walks through the design of a wireless NeoPixel controller using the Nano RP2040 Connect: penguintutor.com/projects/arduino-rp2040-pixelstrip
(via PenguinTutor Digital Maker, Computing and Electronics)
Tomi Engdahl says:
Control LED RGB WS2812B through Wifi and WLED © GPL3+
The very easy way to control led rgb ws2812b with WLED app and ESP8266 based microcontroller Wemos D1 Mini
https://create.arduino.cc/projecthub/lightthedreams/control-led-rgb-ws2812b-through-wifi-and-wled-6f71dc
Tomi Engdahl says:
Audio Input LED strip driver comparison (FFT)
https://www.youtube.com/watch?v=v45mzXCwZZE
Tomi Engdahl says:
**DIY LUMAZOID Arduino Music Visualiser **
This is a real-time music visualizer that lets you display an awesome light show that is synchronized to your music. The device works with any WS2812 / WS2812B with 60, 120, or 180 LED strip lengths.
Detailed video, instructions, schematic,s and code at:
https://youtu.be/iYkC5pUFRbk
Tomi Engdahl says:
An Easy Music Visualizer With The Arduino Nano
https://hackaday.com/2021/12/08/an-easy-music-visualizer-with-the-arduino-nano/
Flashing LEDs are all well and good, but they’re even better if they can sync up with ambient sounds or music. [mircemk] has built the LUMAZOID visualizer to do just that, relying on some staple maker components to do so.
The build is open-source, and designed to work with strings of 60, 120, or 180 WS2812B LEDs. An Arduino Nano is charged with running the show, capturing audio via its analog-to-digital converter. A sensitivity pot enables the input level to be set appropriately.
DIY LUMAZOID Arduino Music Visualiser
https://hackaday.io/project/182899-diy-lumazoid-arduino-music-visualiser
A real-time music visualizer that lets you display an awesome light show that is synchronized to your music.
Tomi Engdahl says:
Addressable LEDs Shine with Extreme Brightness
These RGB LEDs are bigger and much brighter than normal WS28xx devices
https://www.hackster.io/news/addressable-leds-shine-with-extreme-brightness-4cd6840e9fdc
Tomi Engdahl says:
Cool WS2811 Trick Makes LED Art Installation Smooth
https://hackaday.com/2021/07/27/cool-ws2811-trick-makes-led-art-installation-smooth/
Normally, when a project calls for addressable LEDs, we just throw a strip of WS2812s and an Arduino together, cobble together some code from the examples in the FastLED library, and call it a day. We don’t put much thought into what’s going on under the hood, unless and until we run into an LED project that’s a little more challenging.
WS2811 on Steroids
https://www.youtube.com/watch?v=pZl-YRROb4Q
Tomi Engdahl says:
Core-Independent WS2812B Driver for Arduino Nano Every (i.e. ATmega4809)
https://github.com/ClemensAtElektor/Nano_Every_WS2812B
Tomi Engdahl says:
NEOPIXEL PUNK CONSOLE DRIVES WS2812S USING 555 TIMERS
https://hackaday.com/2022/01/01/neopixel-punk-console-drives-ws2812s-using-555-timers/
However, [Adrian Studer] proved that driving WS2812-based LED strips like the NeoPixel series doesn’t necessarily require hand-optimized assembly code. In fact, it doesn’t require any code at all. He built the NeoPixel Punk Console, a device that creates a light show without even using a microcontroller. Just a handful of 555 timers and some 74HC series logic work together to produce pulses with approximately correct timings.
NeoPixel Punk Console
Blinking RGB LEDs with 555s and a handful of 74-series logic
https://hackaday.io/project/183093-neopixel-punk-console
Tomi Engdahl says:
NeoPixel Punk Console Drives WS2812s Using 555 Timers
https://hackaday.com/2022/01/01/neopixel-punk-console-drives-ws2812s-using-555-timers/
Tomi Engdahl says:
https://hackaday.com/2022/01/06/tiny-led-matrix-panels-tile-together-perfectly/
Tomi Engdahl says:
https://hackaday.com/2022/02/12/tutorial-teaches-you-to-use-neopixels-with-micropython/
Tomi Engdahl says:
Teaching You Everything You Might Have Missed About Addressable LEDs
https://hackaday.com/2022/02/27/teaching-you-everything-you-might-have-missed-about-addressable-leds/
Tomi Engdahl says:
https://www.hackster.io/news/control-rgb-led-strips-with-floating-point-parameters-7cfd22133f2b
Tomi Engdahl says:
WS2812 Controller
A cheap & cheerful widget to control those RGB strips everyone has
https://hackaday.io/project/183586-ws2812-controller
Tomi Engdahl says:
https://hackaday.com/2022/03/15/led-flower-bouquet-is-a-radiant-hacker-desk-decoration/
Tomi Engdahl says:
https://create.arduino.cc/projecthub/mircemk/diy-arduino-cyclone-game-with-ws2812b-led-ring-738c58
Tomi Engdahl says:
https://www.facebook.com/groups/electronichobycircuits/permalink/5284208568270476/
I fully documented the amking steps of this Magic RGB LED Cube, you can check the details on my YouTube video.
Video link here : https://www.youtube.com/watch?v=A0OtHySzadk
Full documents (codes and files) are provided through free download links, check the video desccription for the details
#diy #maker #LEDCube #circuit #circuitDesign
Tomi Engdahl says:
https://hackaday.com/2022/03/23/finally-a-mapping-tool-for-addressable-led-strings/
Tomi Engdahl says:
Glowing RGB LED Magic Cube (WS2812)
https://hackaday.io/project/184544-glowing-rgb-led-magic-cube-ws2812
This is certainly inspirational, I detail the full making steps of a cool glowing Magic LED Cube, all necessary files are included.
Tomi Engdahl says:
7 Common LED Strip FAILS and How To Avoid Them
https://www.youtube.com/watch?v=Fu4qZW0pQm4
LED strips are the light source of the future, make sure you don’t make one of these 7 common mistakes.
Tomi Engdahl says:
A wireless ArtNet LED controller that can control up to 170 pixels of individually addressable LEDs (pixel tape) over standard WiFi networks using ArtNet.
https://github.com/phuvf/wireless_artnet_led_controller
Tomi Engdahl says:
WLED Virrankulutus Demo WS2812C Ledeillä
https://m.youtube.com/watch?v=PhdAliGKBKQ
https://m.youtube.com/channel/UC7uK4BVZb-a6K3hgCct-nLw