When testing with Arduino circuits, it is often useful to see digital signal states on different pins. It is easy to measure single signal pin state with multimeter, but when you want to monitor several pins visually you need something else. One useful option is to use LEDs connected to pins to show their state. Just wire a LED with suitable current limiting resistor (typically 330-1000 ohms) between output pin and ground works well. I have also used small 12V indicator LEDs designed for car installation for the indication, they are typically built from LED and suitable current limiting resistor that makes them bright on 12V and light dimly on Arduino 5V.
When I want to monitor many signals, wiring individual LEDs to many pins is quite bit of work and easily becomes a mess. To make monitoring many pin states there are special easy to use tools. Produino Motor Driver Board Expansion Board Module w/ LED Master Switch for Arduino – Red ($5.99 / 4.37 Euro) is an Arduino shield that has LEDs to indicate the state of practically every Arduino IO pin.
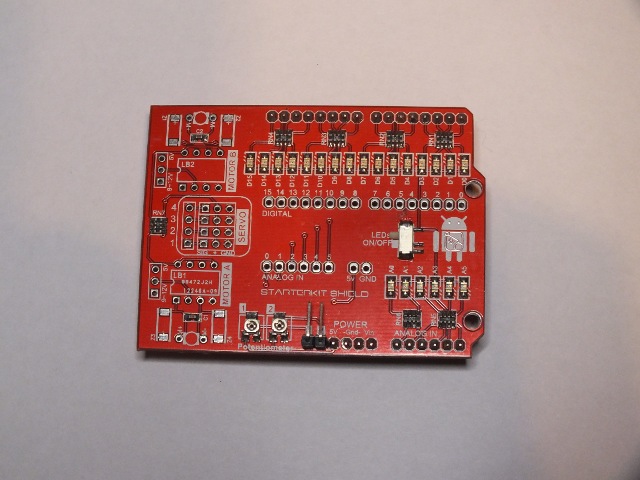
Here is the top view of the board. All electronics components are here:
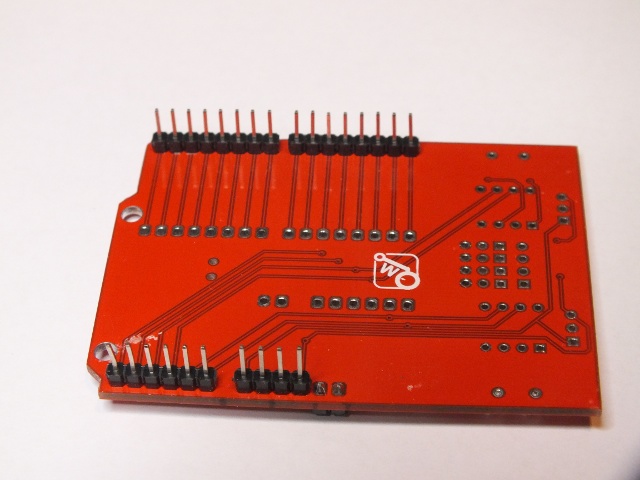
Here is the bottom view:
Produino Motor Driver Board Expansion Board Module w/ LED Master Switch for Arduino – Red has all I/O pins states monitored with LEDs. There is LED master switch to turn the monitoring on and off. The LEDs will light when pin is set to logic 1 and LED master switch is in on position. The board works with official Arduino boards (I tested with Arduino Duemilanove and UNO).
In addition to LEDs there are two 10 kohm trimmer potentiometers for testing ADC inputs by sending 0-5V to ADC input (potentiometer wired between +5V and ground and center connected to free pin header). The potentiometer outputs go to free pins on the board marked with symbols 1 and 2. Wire them to analog inputs as needed.
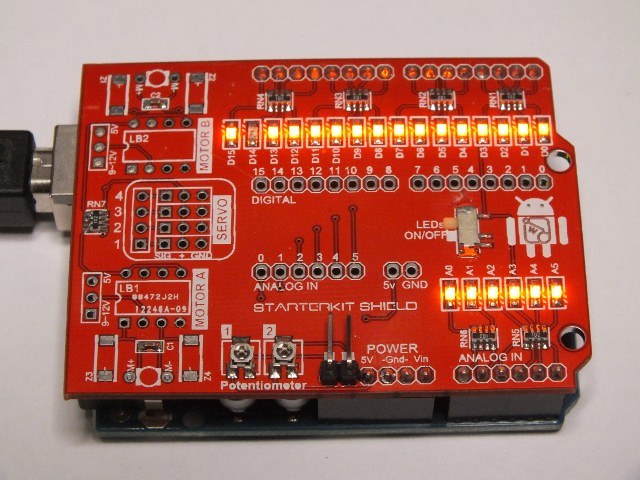
The main functionality of this shield are the LEDs that show Arduino pin states. LEDs light when digital output is set to 1. It helps debugging of Arduino applications. Switch to control LEDs on/off, which allows you to turn the LEDs off when you don’t need them anymore.
LEDS functionality:
D0-D13 corresponding output state (D1 and D0 were always on when using Firmata because are serial RX and TX pins)
D14: always off
D15: Always on
A0-A5: Analog input state (light when input is configured to output at logic 1).
When I tested this shield with with Arduino UNO r2 using Firmata software I get easily all LEDs light up when all pins (including analog inputs) where set as output and turned to 1.
The circuit for driving LEDs: Arduino pin – 1 kohm resistor – LED – led common bus – switch – ground. All the LED cathodes (- side) are wired together to “led common bus”, that is either left floating (LEDs off) or connected to ground through LED switch (LEDs on). Measurement of the circuit shows around 2.7V over 1 kohm resistor, which means 2.7 mA current to drive LED. There was around 1.8-1.8V voltage drop over yellow LED.
The base board seems to be designed so that it could be used to build some more complicated shields as well. The circuit board is bigger than needed for LEDs only, and there are free places for motor driver ICs and servo outputs. I wonder why there is a robot logo that looks like Android on the board? Is this just symbol that this board was designed for robotics or has it something common with Android mobile OS? I don’t know.
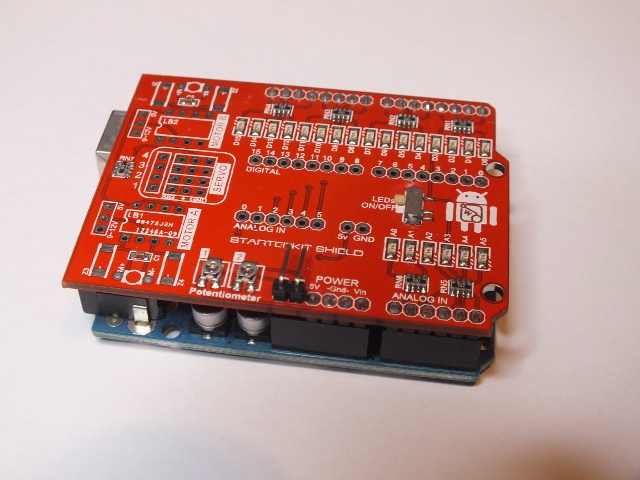
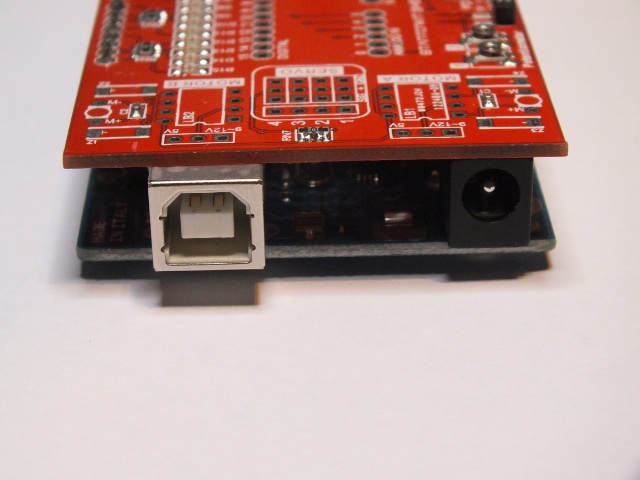
I noted that the pins on the shield that go to Arduino board are a little bit shorter than on some other shields. This causes that the board fits pretty near to the Arduino board, in my case so near that the metal shield on the Arduino board touches the circuit board on the shield. I solved potential short circuit with a piece of tape to insulate the outside of USB connector (normal office supply “invisible” tape as I used here will do OK as insulator for this low voltages, real PVC or kapton insulation tape would be better). This would be only issue with Arduino board models that have this kind of big traditional USB connector it it.
Produino Motor Driver Board Expansion Board Module w/ LED Master Switch for Arduino – Red did what it promised to do and did it pretty well. If you want to have LED indicator for all Arduino pins, this shield is well worth to consider.
1 Comment
Tomi Engdahl says:
Add Indicator Lights and Diagnostic Pins to the Arduino Uno with DeDe
https://blog.hackster.io/add-indicator-lights-and-diagnostic-pins-to-the-arduino-uno-with-dede-8785b2068f3e
Arduino boards — specifically the Uno — have made prototyping your invention easy and inexpensive. On the other hand, one thing they don’t have is a visual indicator as to which pins are high and low (0 or 1). Naturally, this would be excellent for troubleshooting, so Bill Brown has come a solution as DeDe, or the “DEbug & DEvelopment” shield for the Arduino Uno and compatibles.
https://www.kickstarter.com/projects/ellutions/dede-debug-and-development-shield-for-arduinos-and