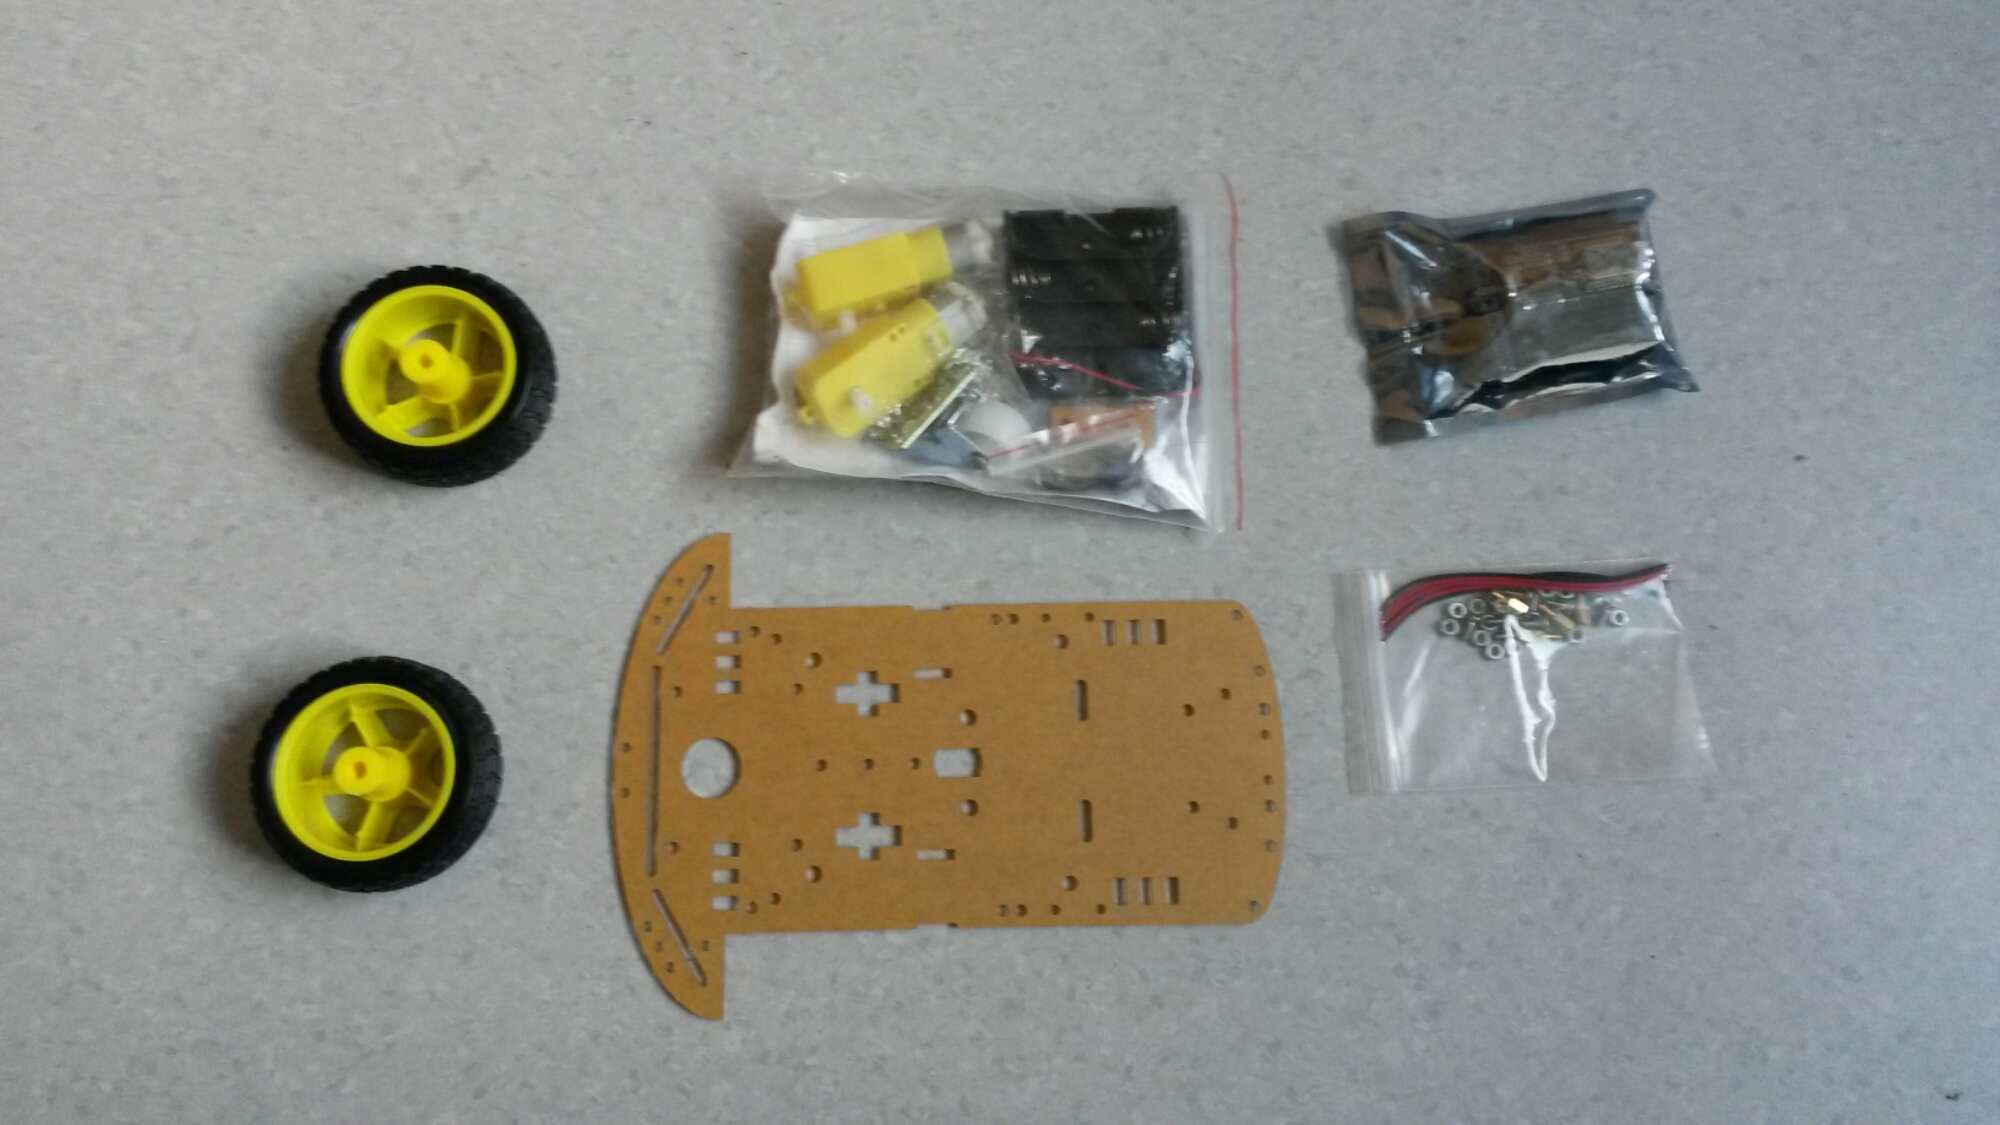
This is the second posting on NodeMcu robot kit: DIY NodeMCU Lua 2WD Open Source ESP8266 WiFi Smart Car Kit. The first posting was a about what you can find inside the kit, and it ended to this picture that shows the parts in the kit
When all the parts are now available, the next task was to start building and testing. I decided to start by testing that the electronics works. For that I took the NodeMcu board, motor control board, motors and battery case to build a small test system.It was good that the board had the markings which wire go to which postion on on the board. I connected the battery to the ESP power pins only, and and the shortcut jumper to link the motor and ESP power connections together. Here is picture of the motor control board from SquixTechBlog:
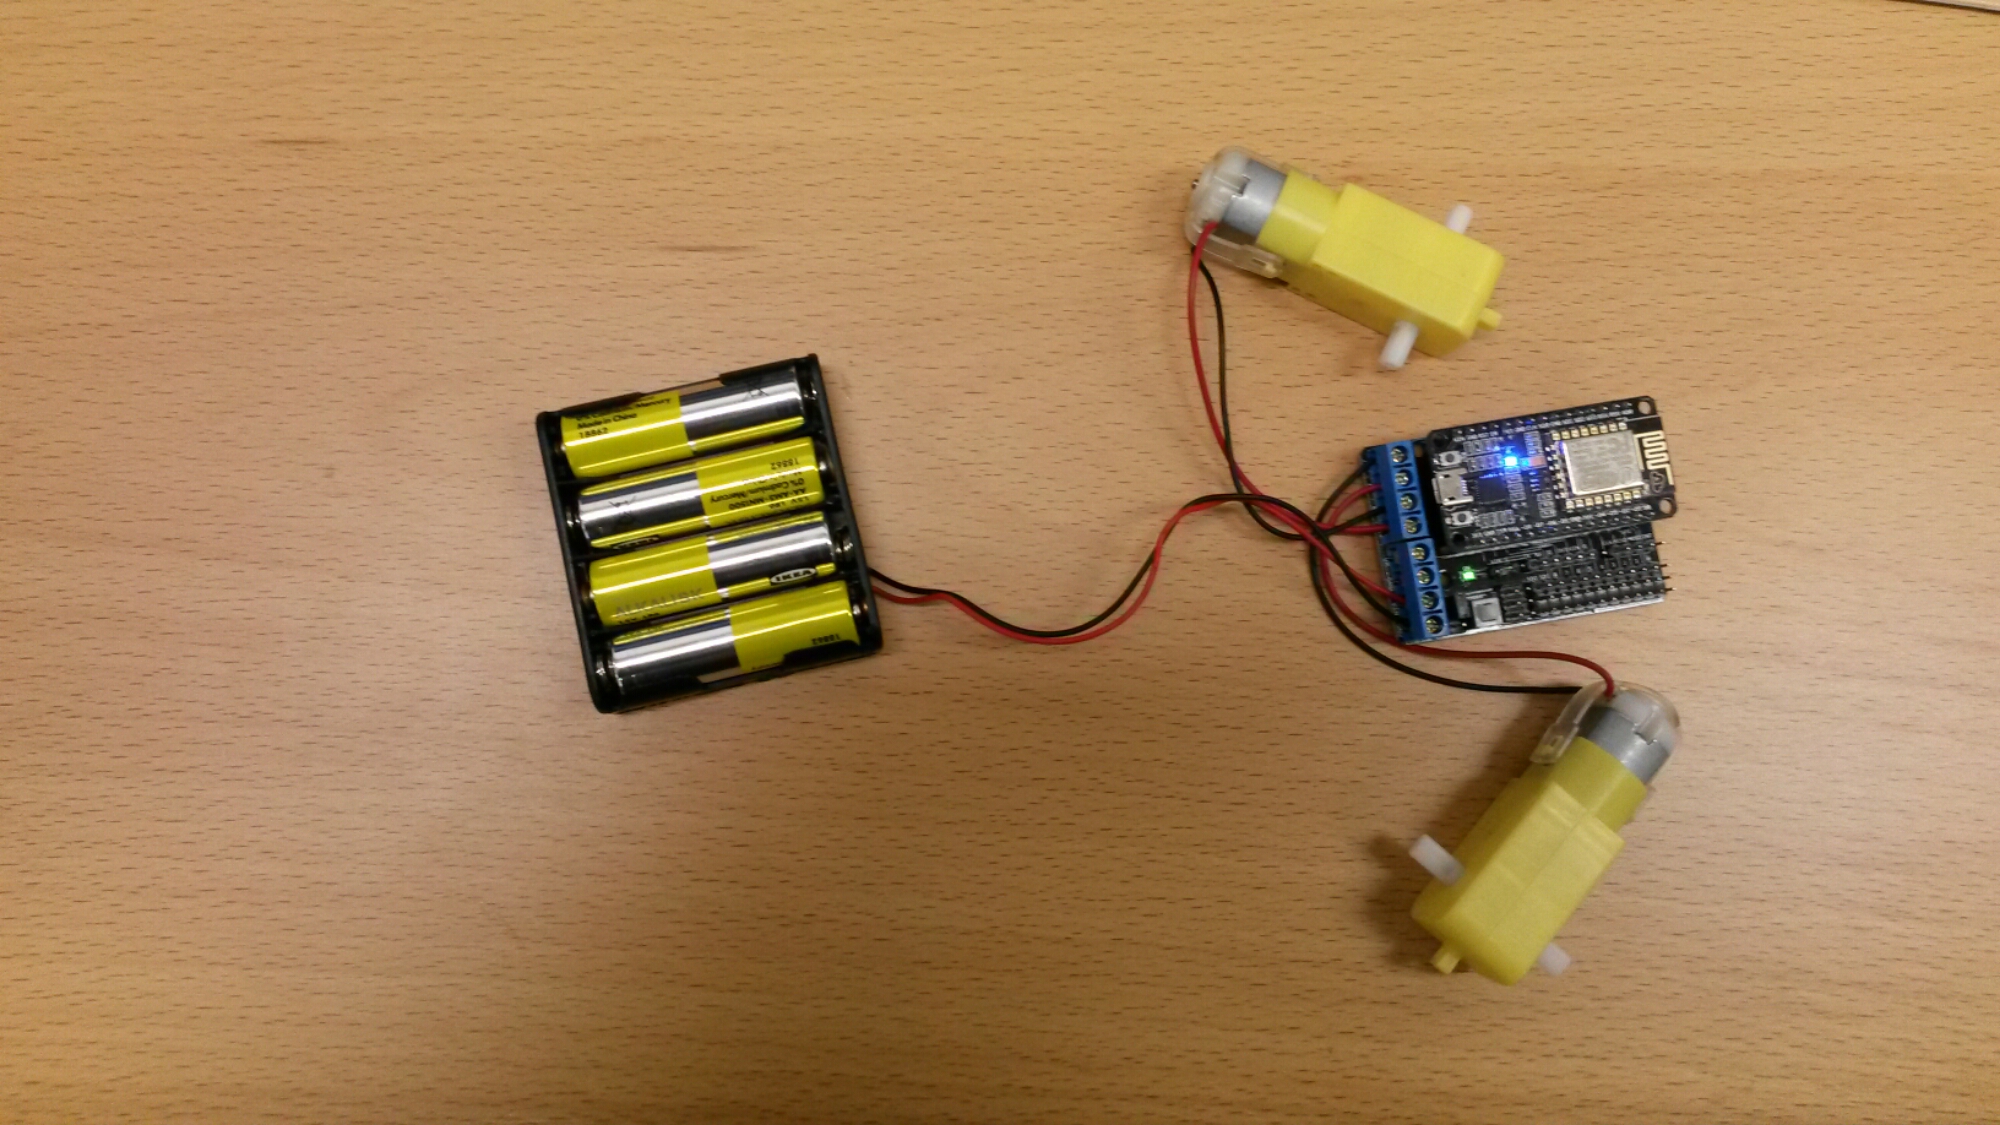
To build the tools I needed was a small screwdriver and soldering iron (needed to solder the wires to the motor terminals). The end result was the following test setup that had all the electronics but not most of the mechanic parts.
The next task is to test this. To do that I need to install mobile phone app to control the NodeMcu board. I installed the The AP model APP control to ny Android smart phone because the control board supplied on the kit is by default confkgured to work in AP mode (works as WiFi access point). Under this AP mode, the default SSID name is DoitWiFi, and password is 12345678. After I powered up the NodeMcu board (switch on the board) and got my smart phone connected to the robot AP, I started the control app. It allowed me to send commands like Forward, Back, Stop, Turn Left, Turn Right. It made the motors run as expeced, so the electronics seems to be working well.
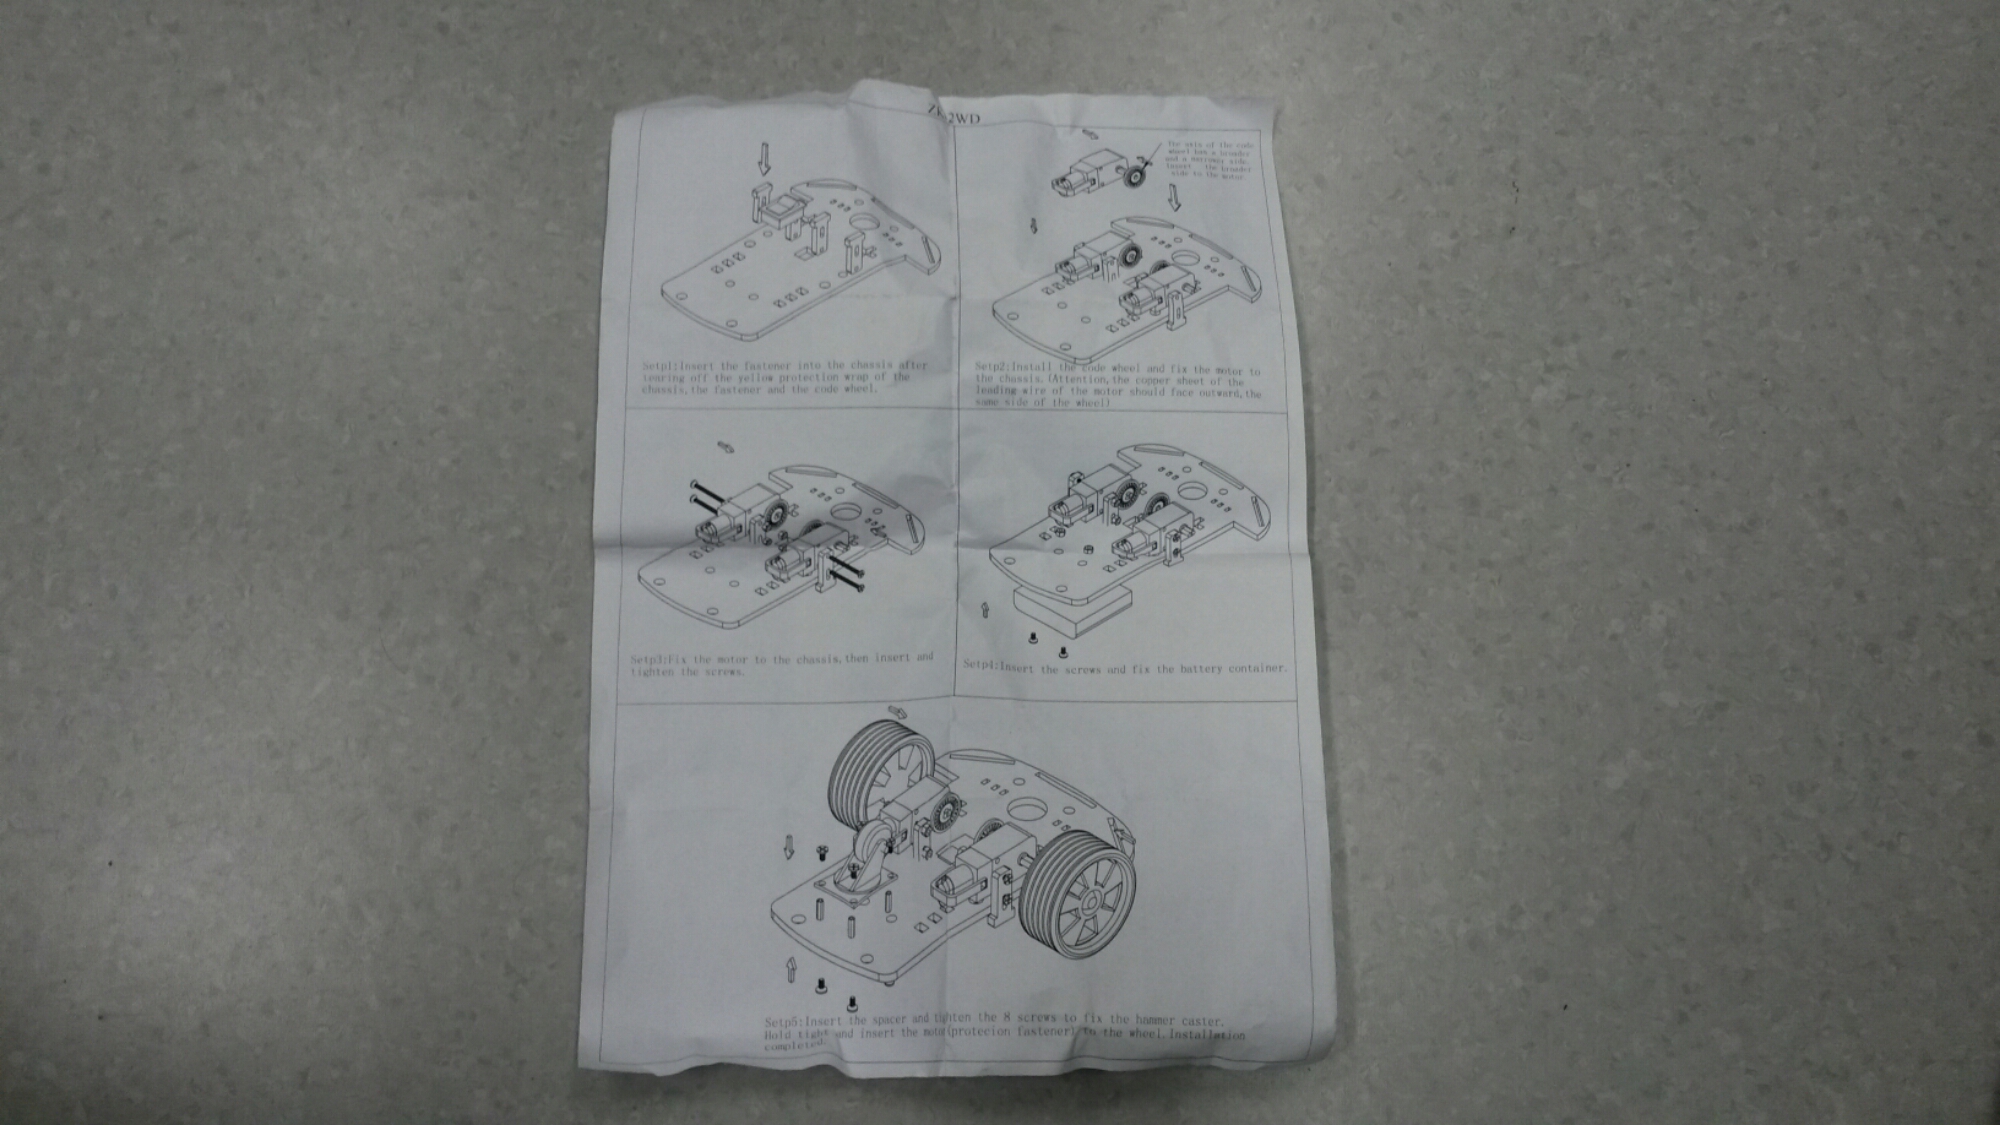
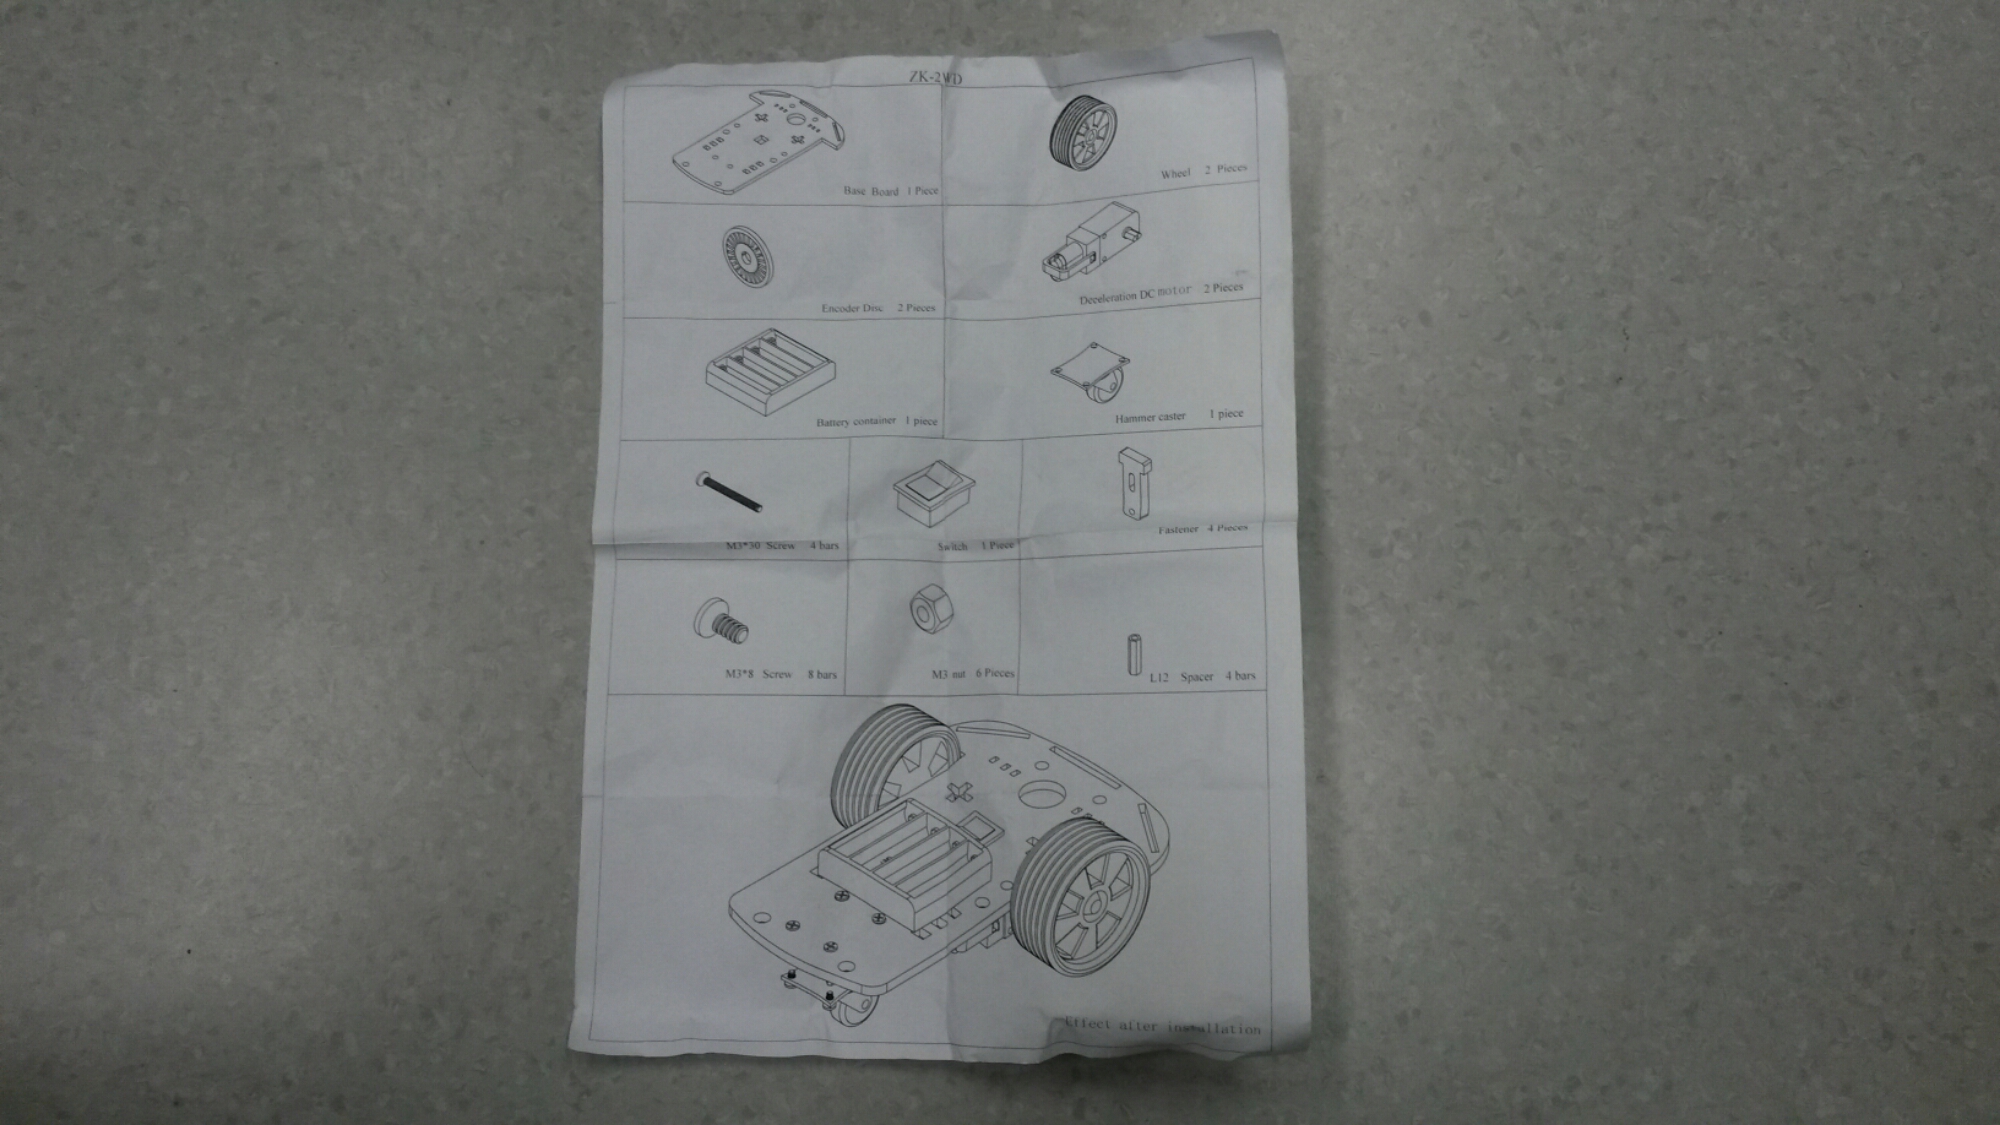
Next task was to build the mechanics. The jut came with the following mechanics building instructions, that were useful but did not tell all the details (for example how to mount the control circuit board best).
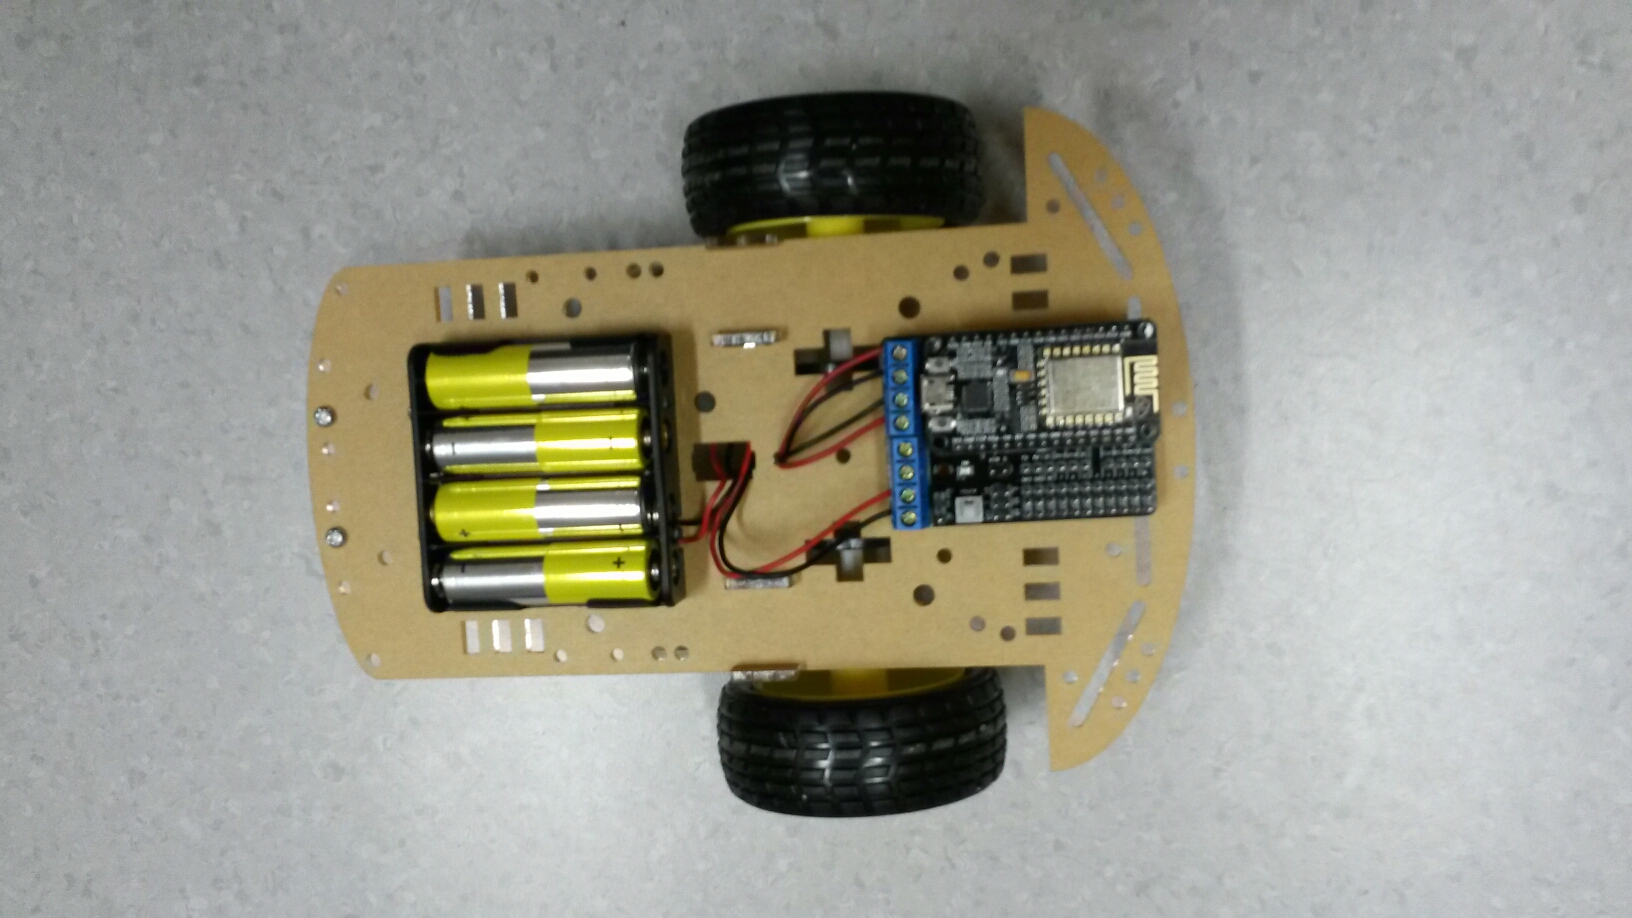
After some building (around 15 minutes), the result was the following robot.
In the first test to control it with the app, it worked strangely. The solution for this was to change the order of the wires going to one of the motors so they both rotate to the right directions.


0 Comments
Be the first to post a comment.