Here is a look what in inside a broken Laserliner Active Finder Plus contactless voltage tester that is designed to detect
live lines from 24 V AC to 1000 V AC:

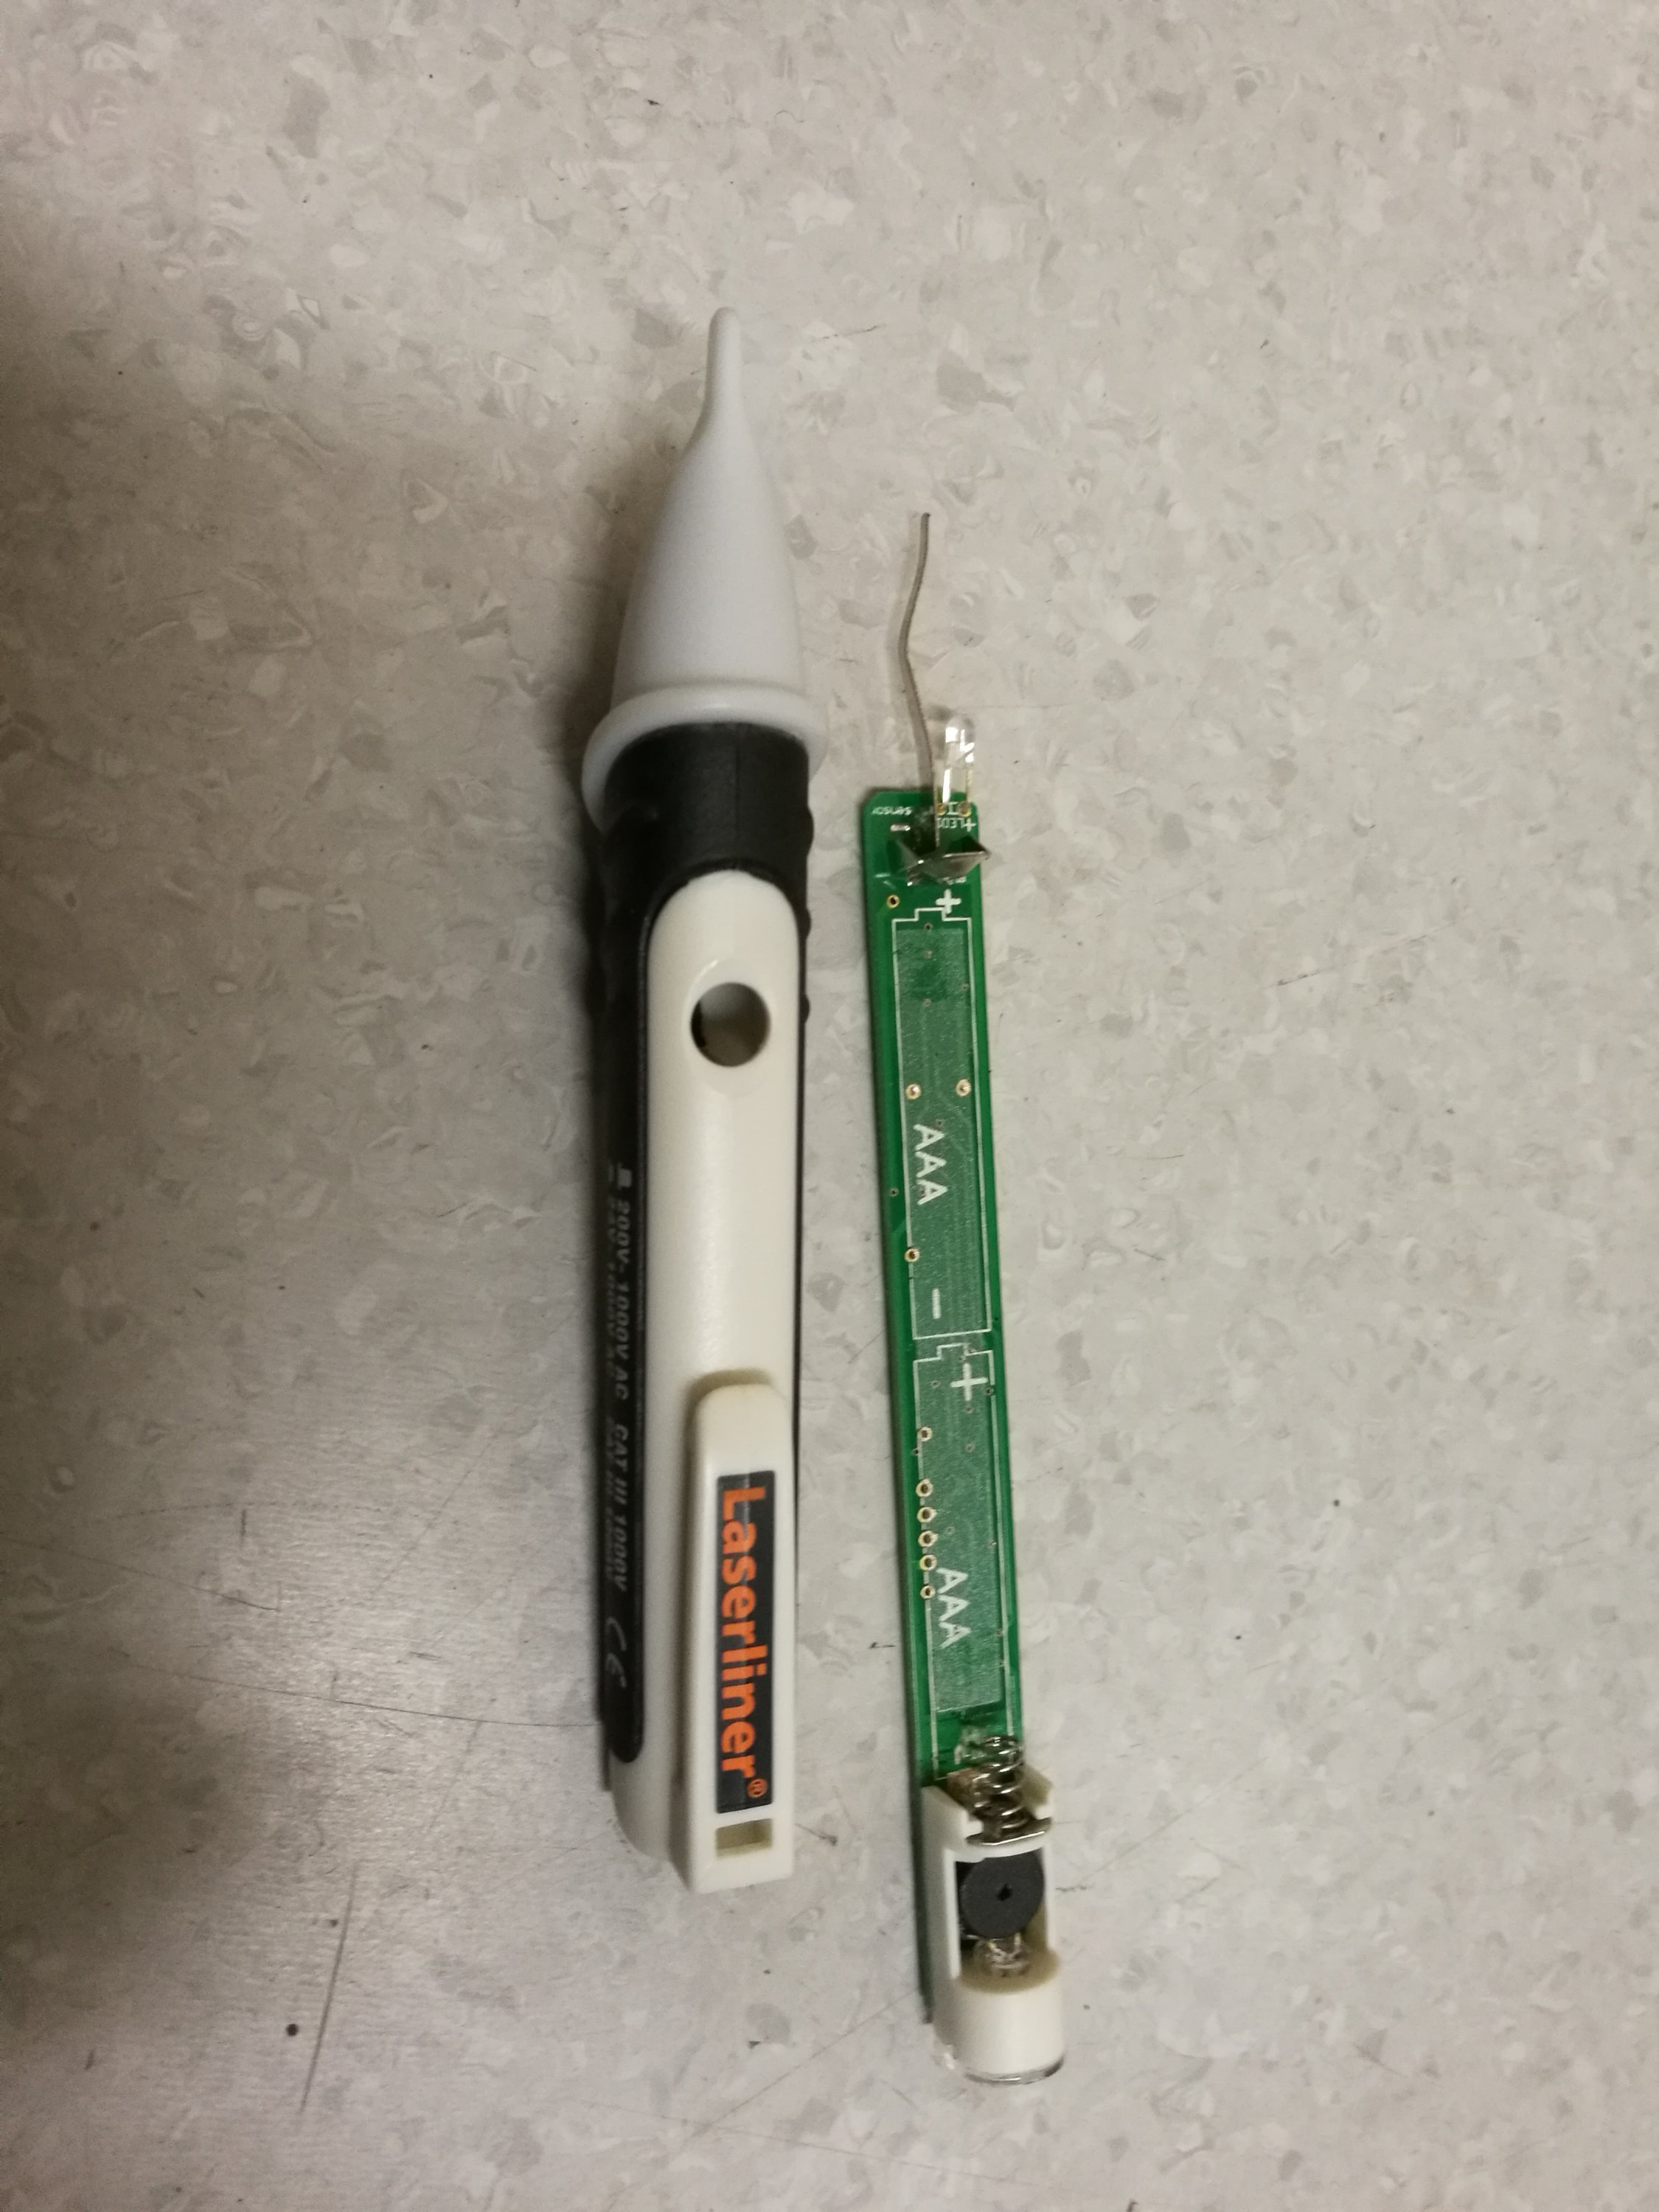
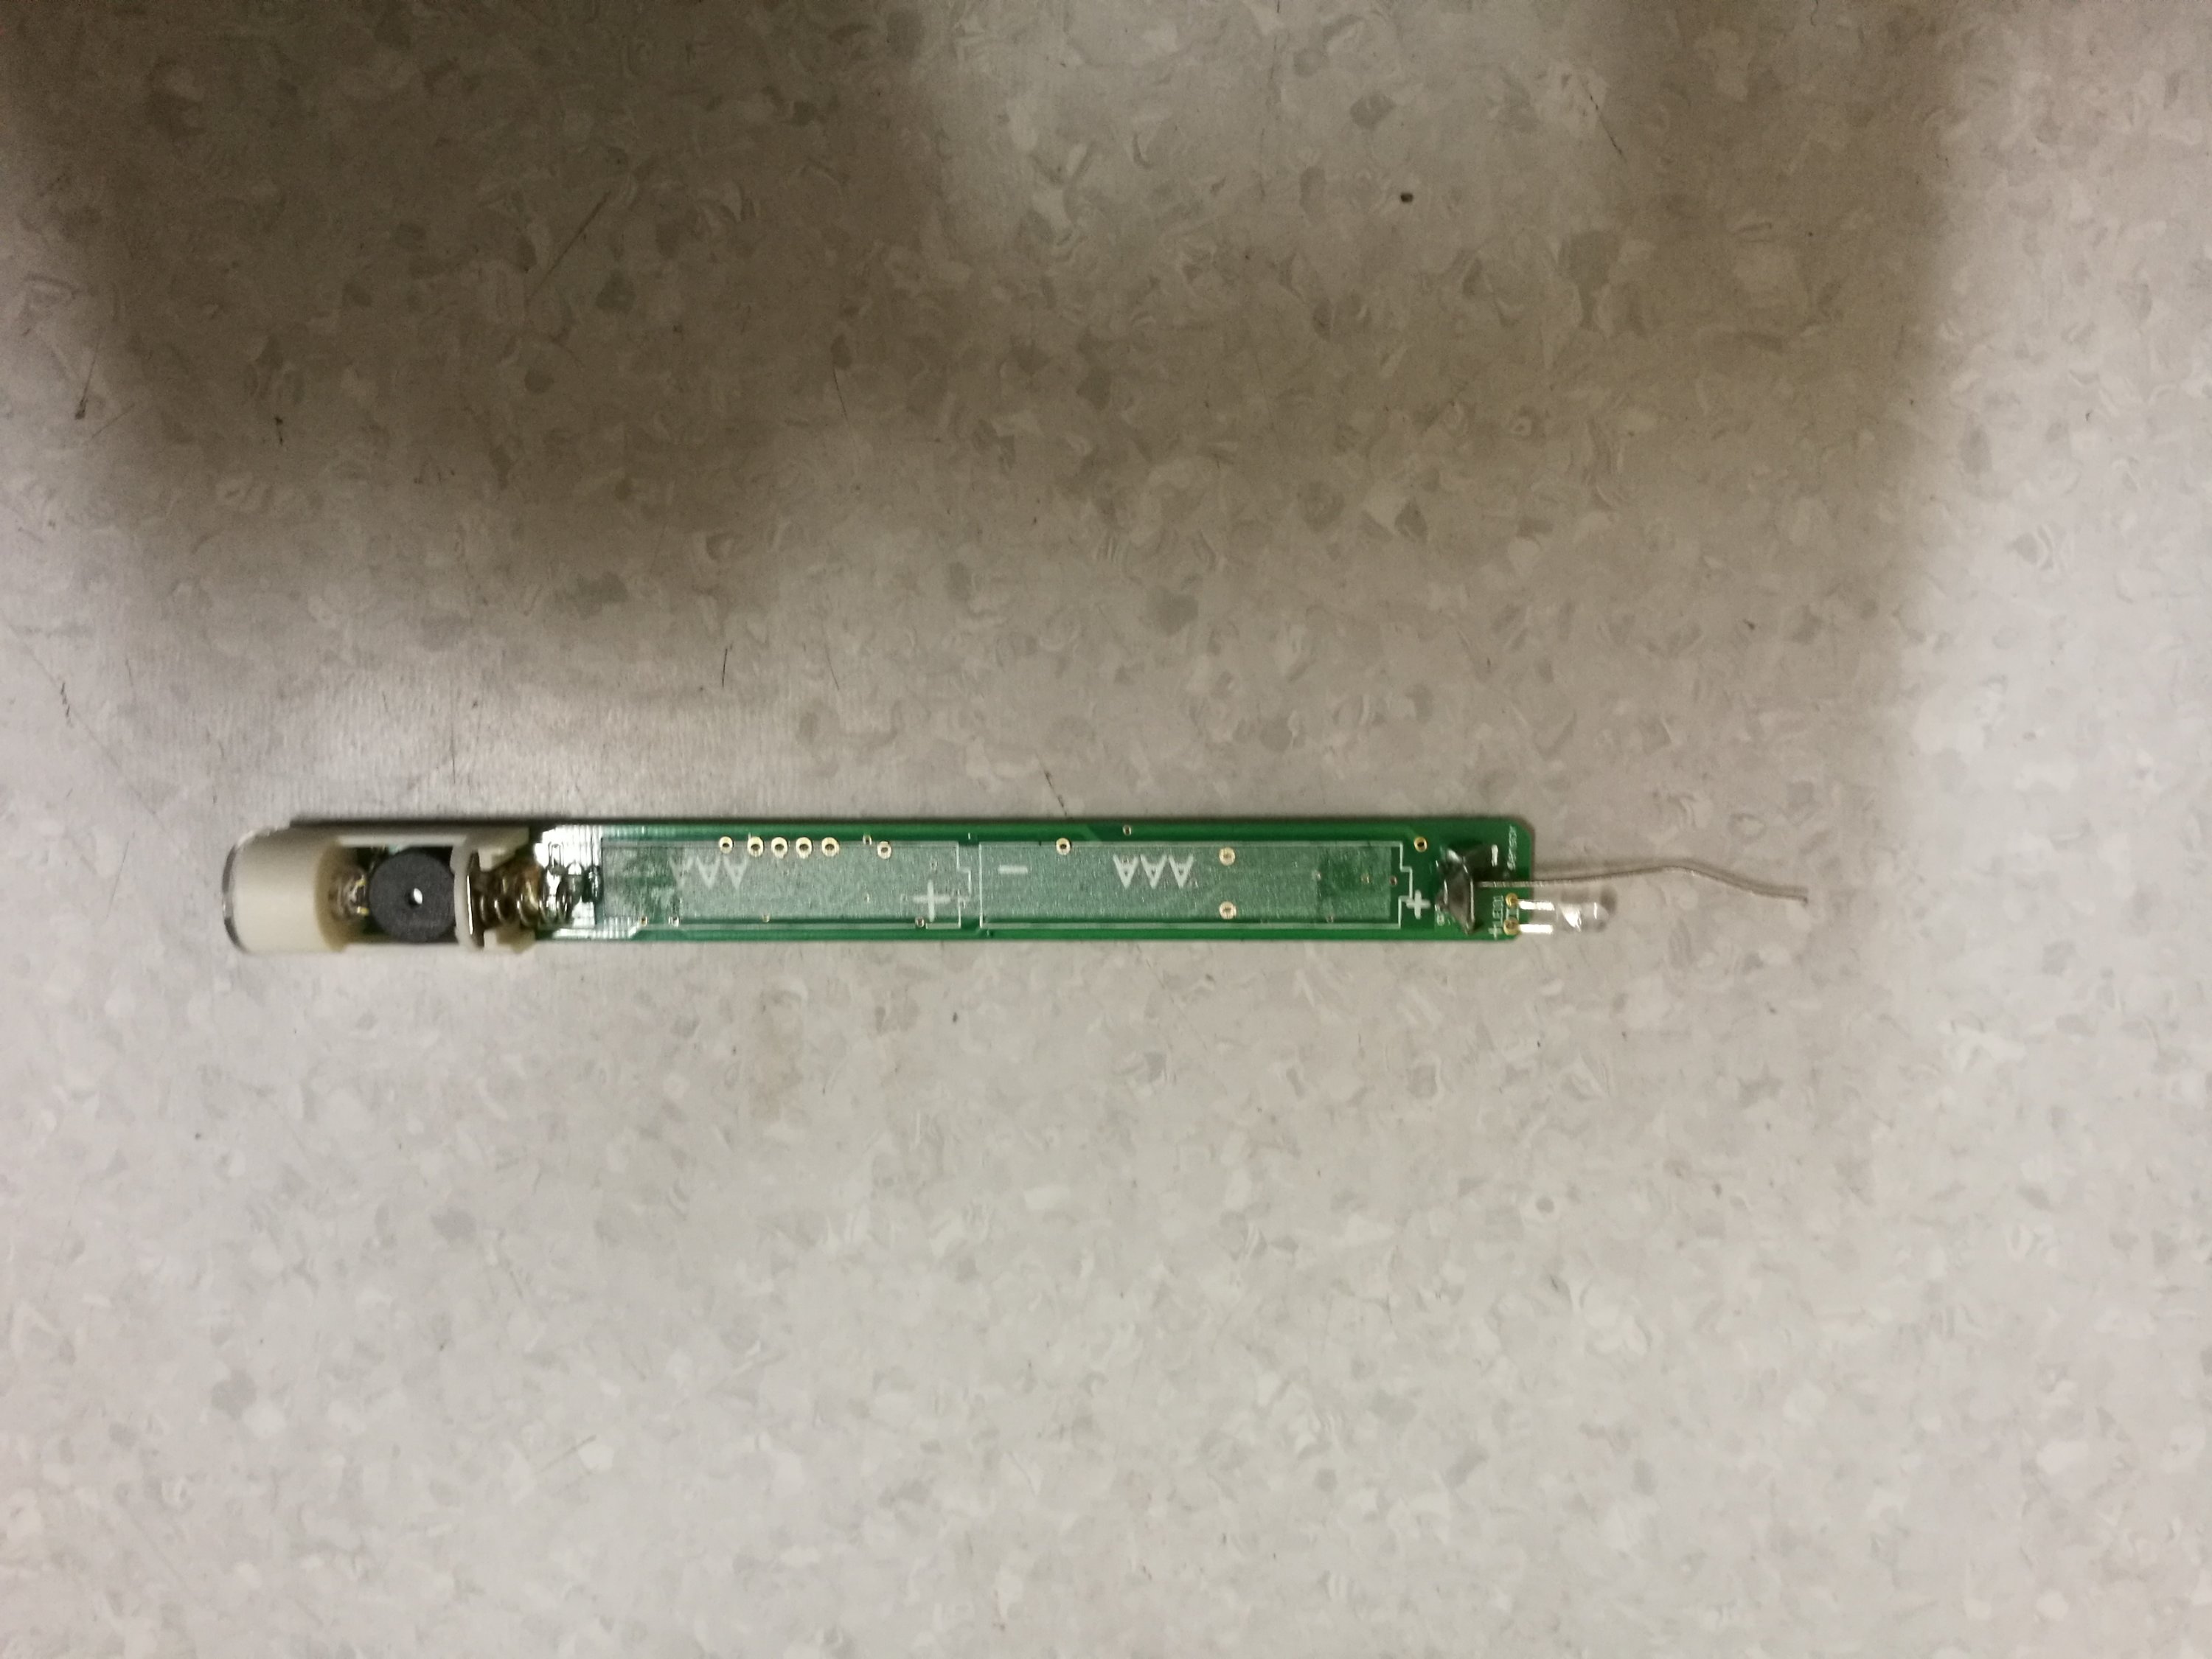
Not much see on this side of circuit board. All I can see is place for two 1.5V batteries, beeper and LED.
The other side has all the main components:
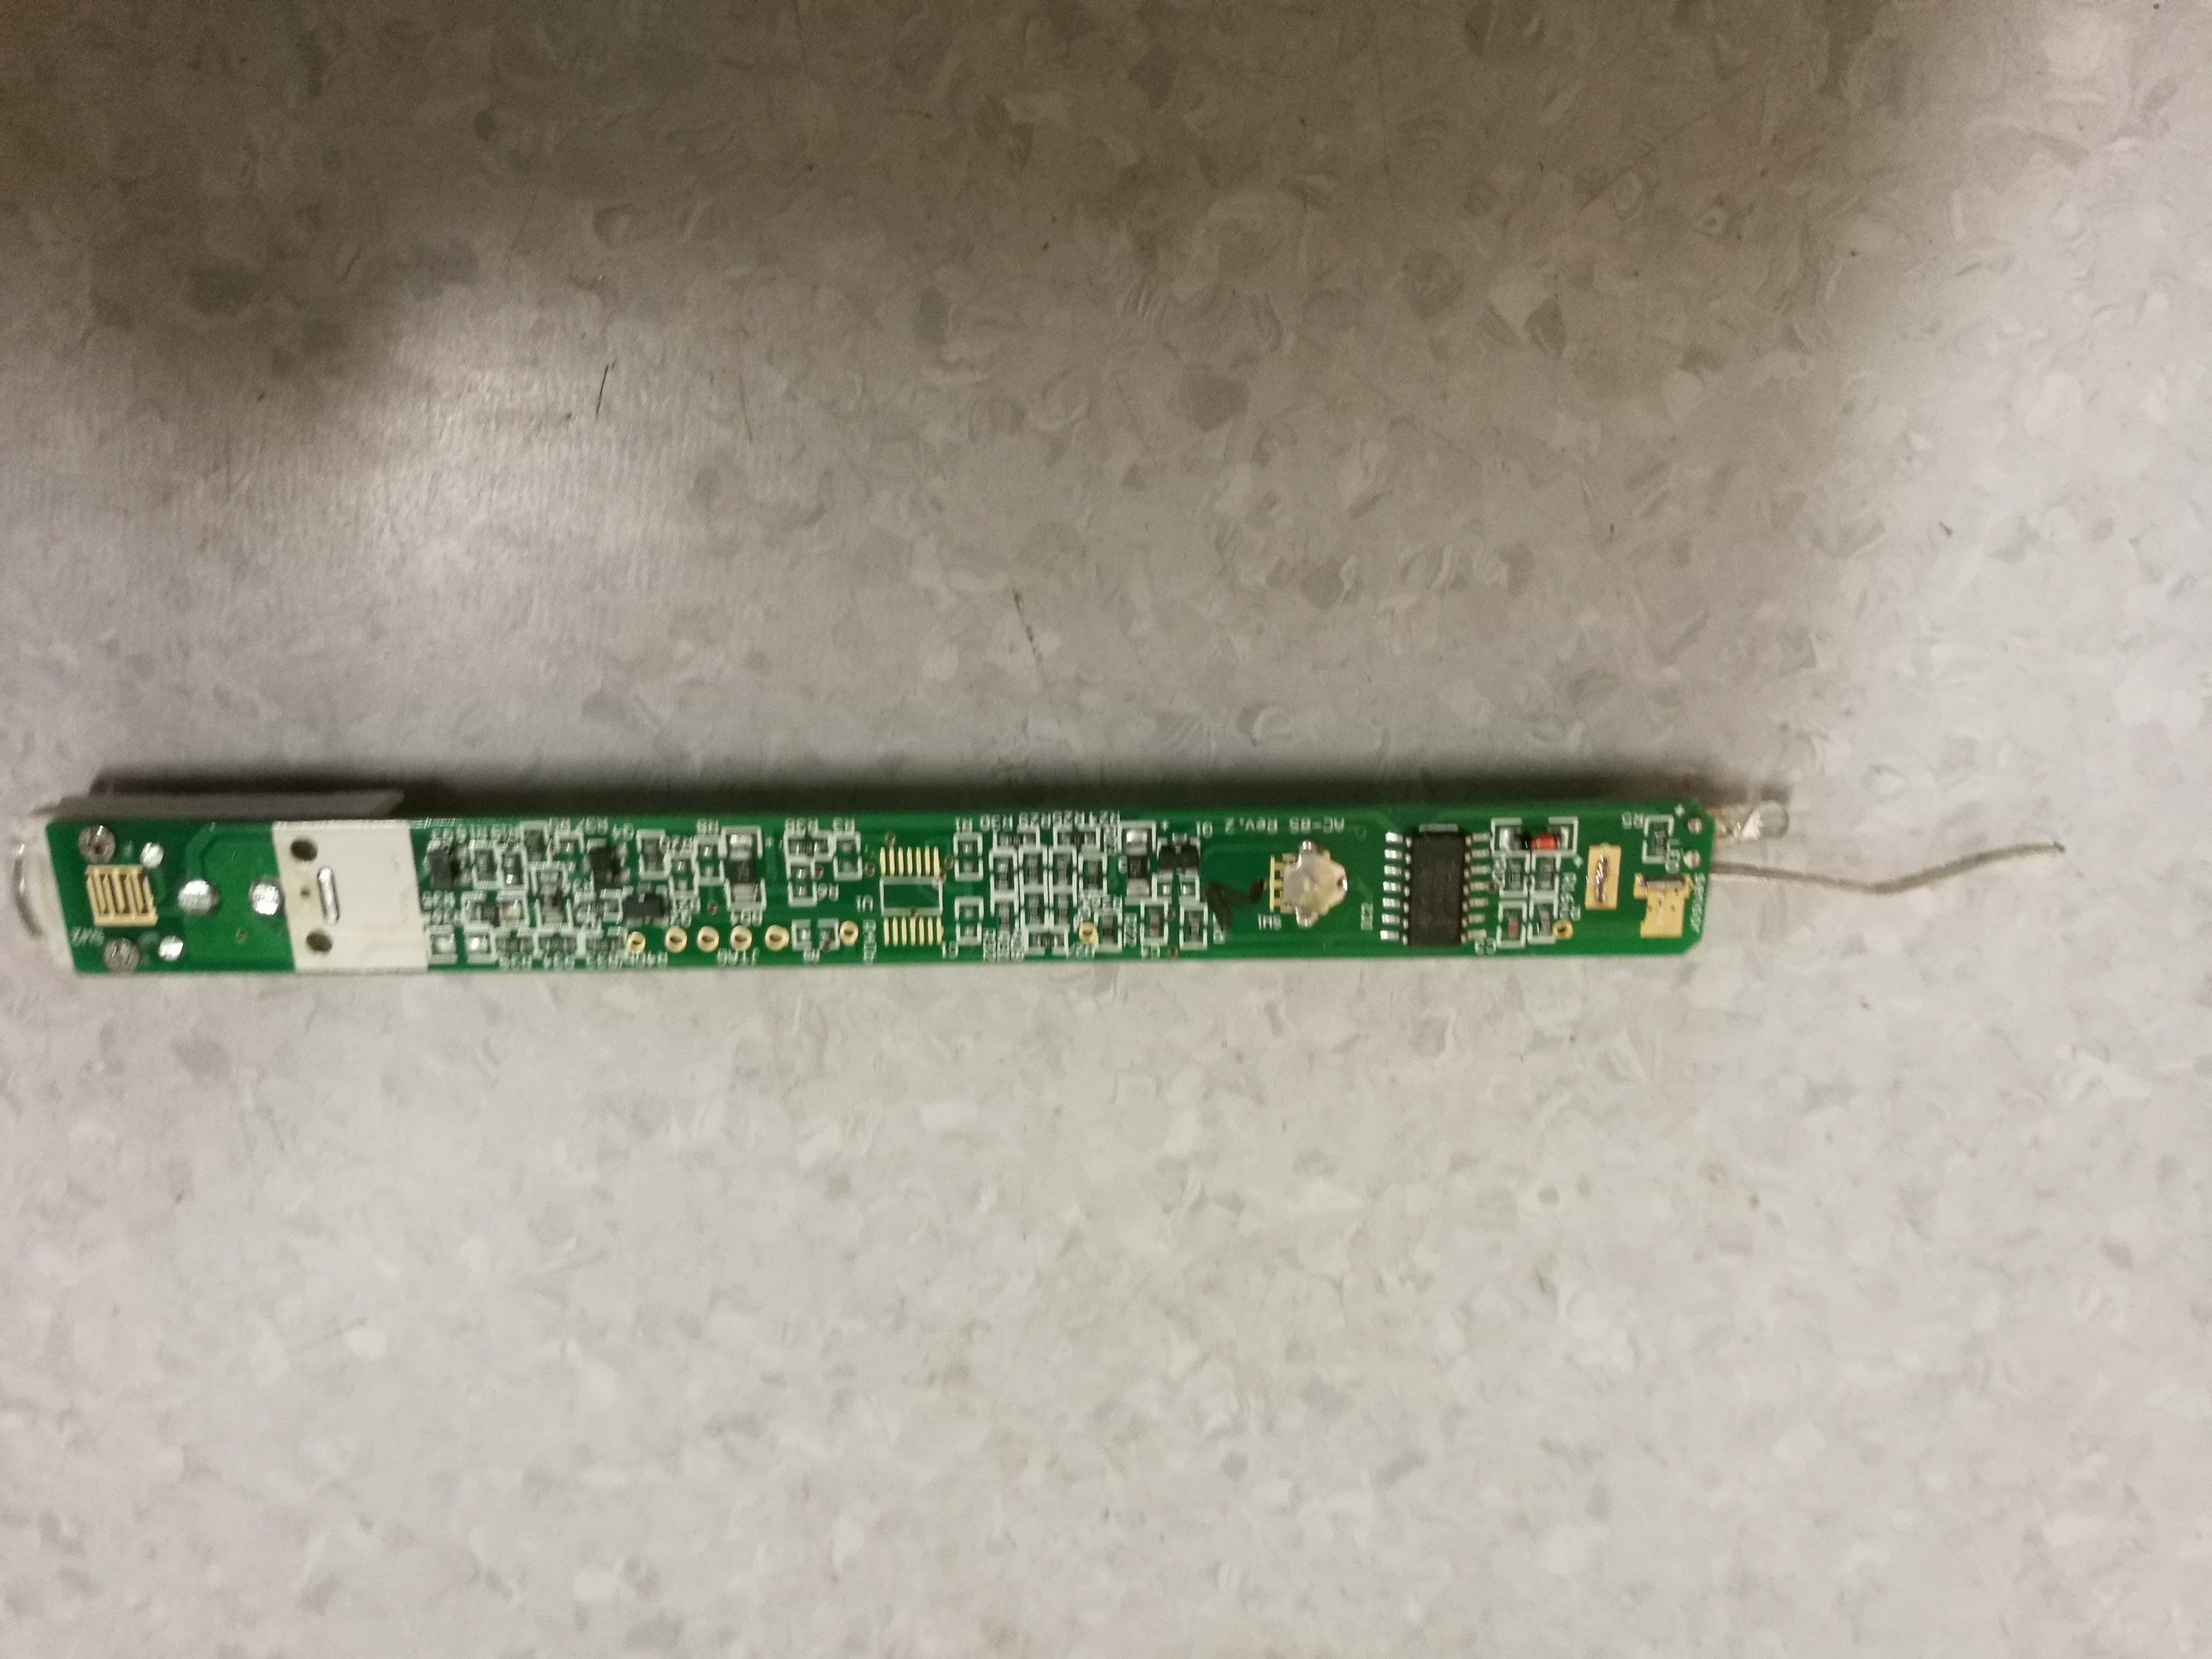
4069 CMOS inverter IC based circuit
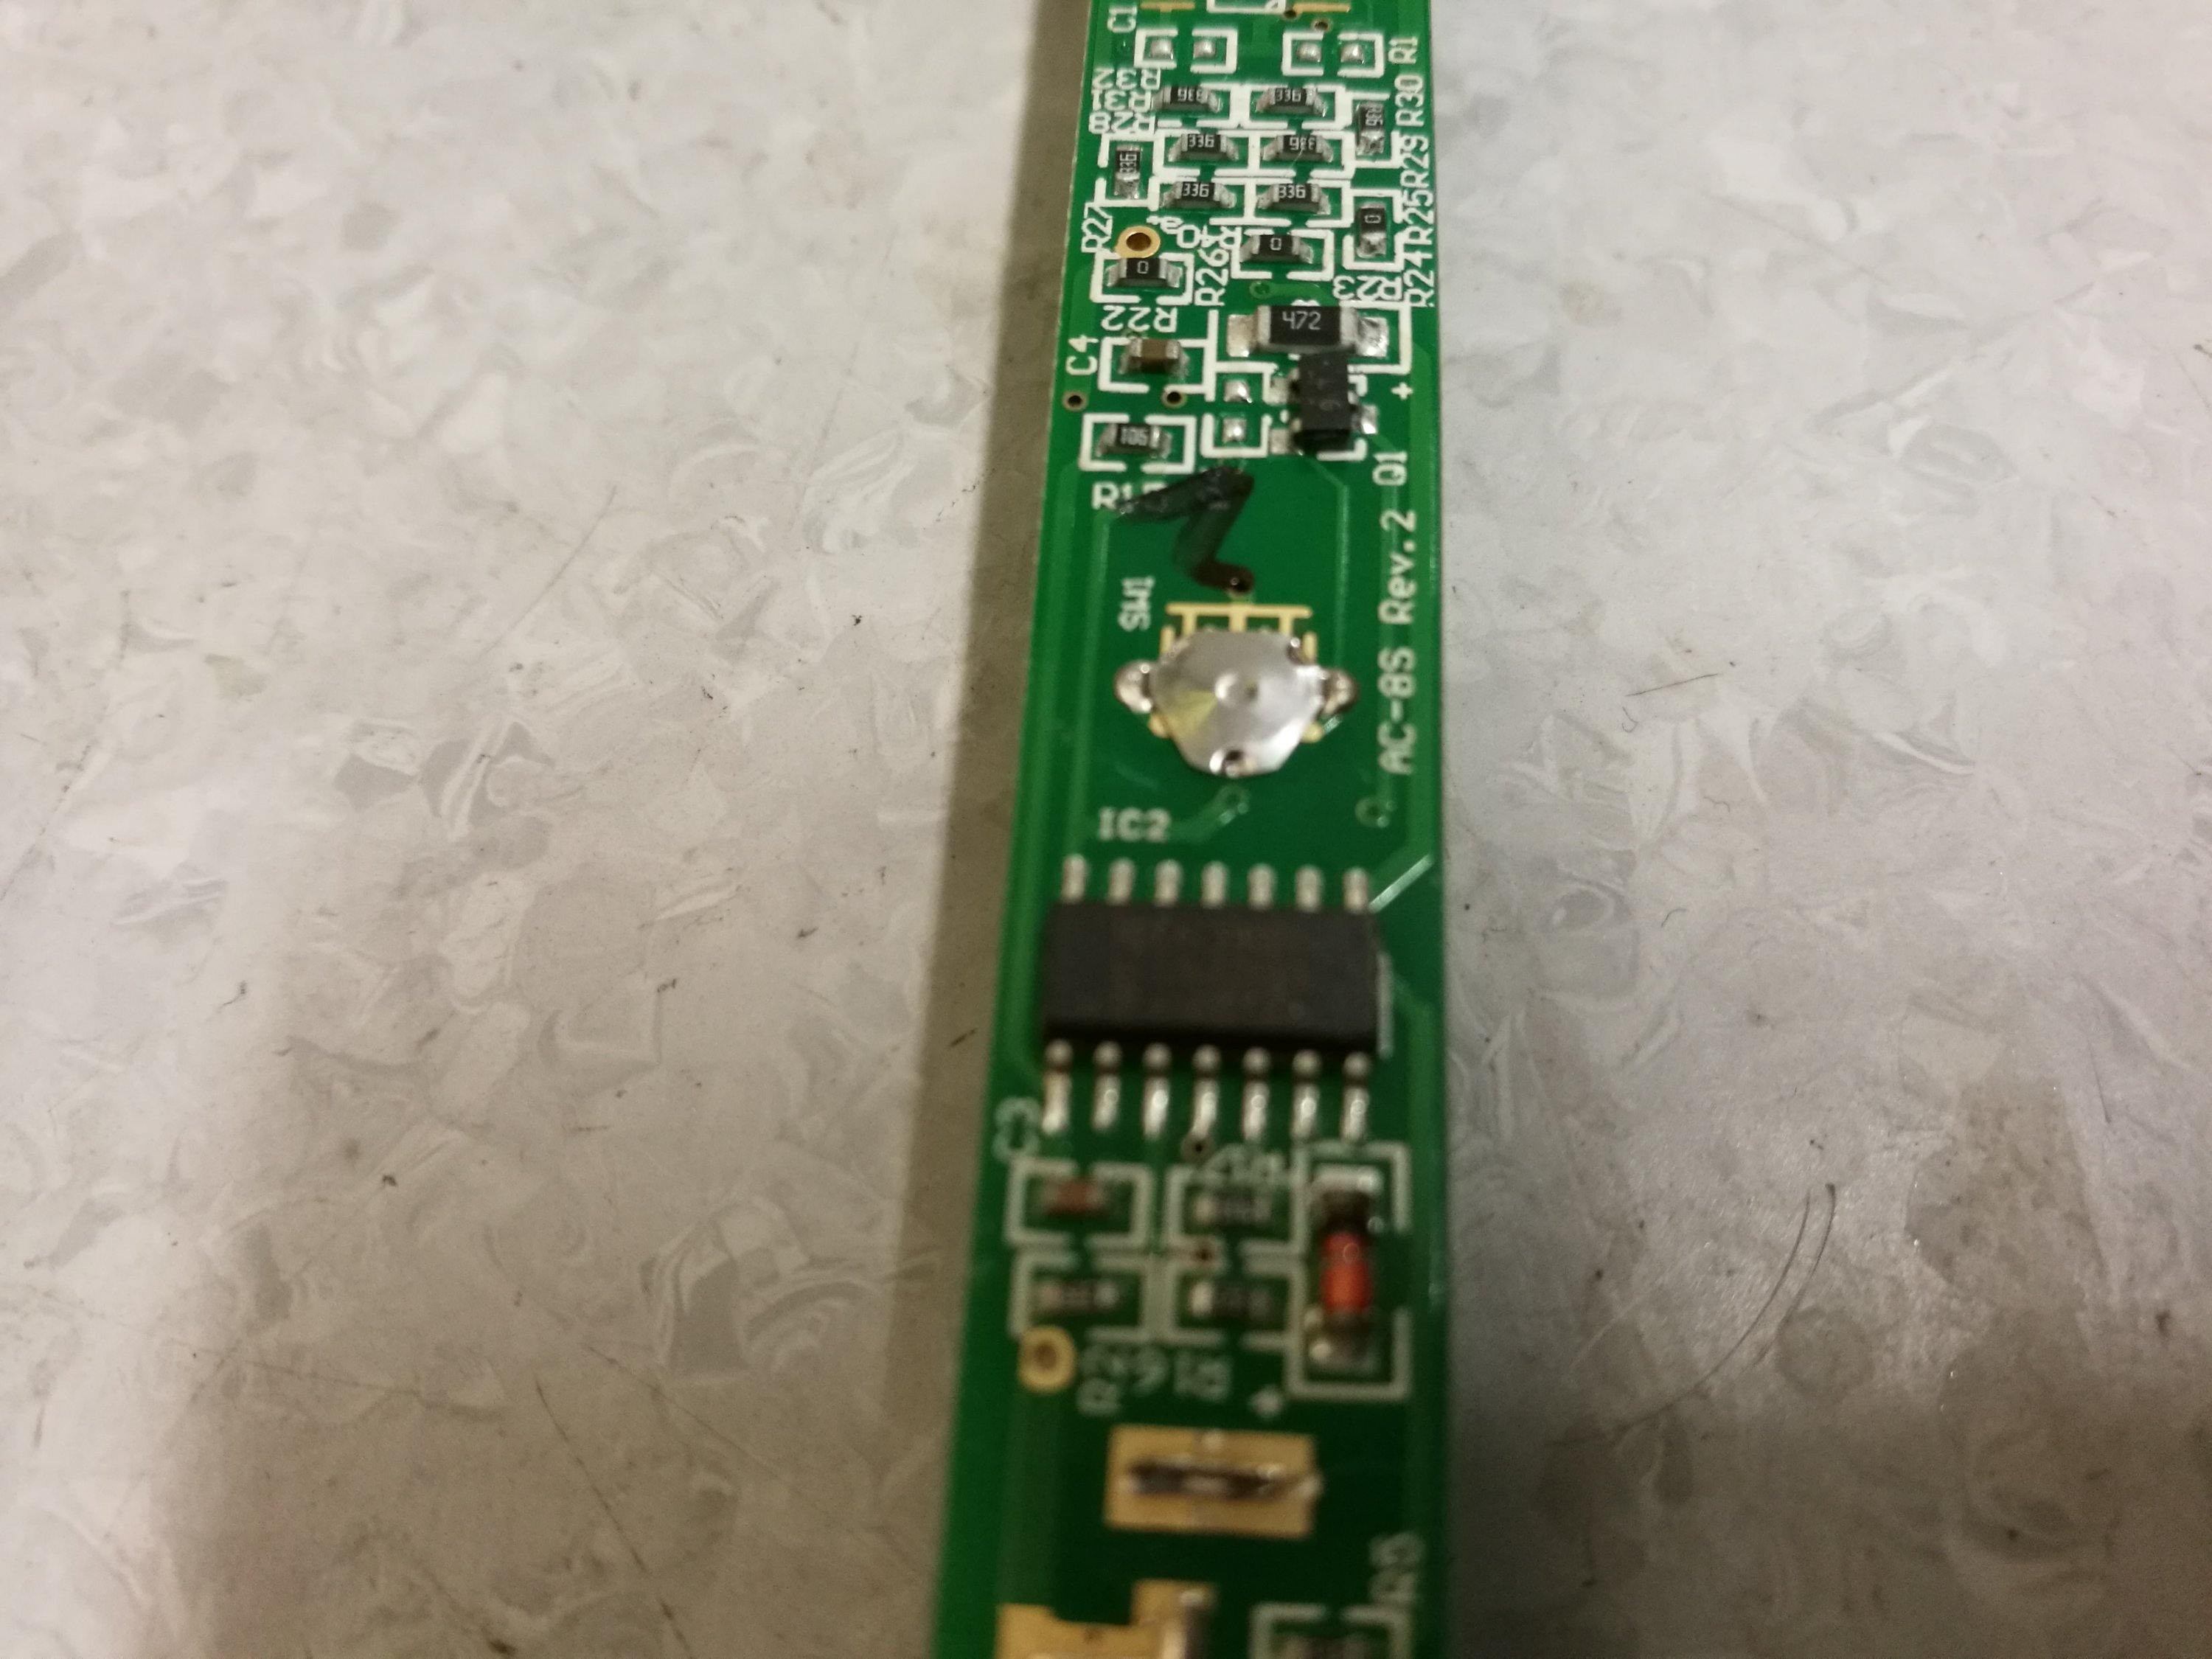
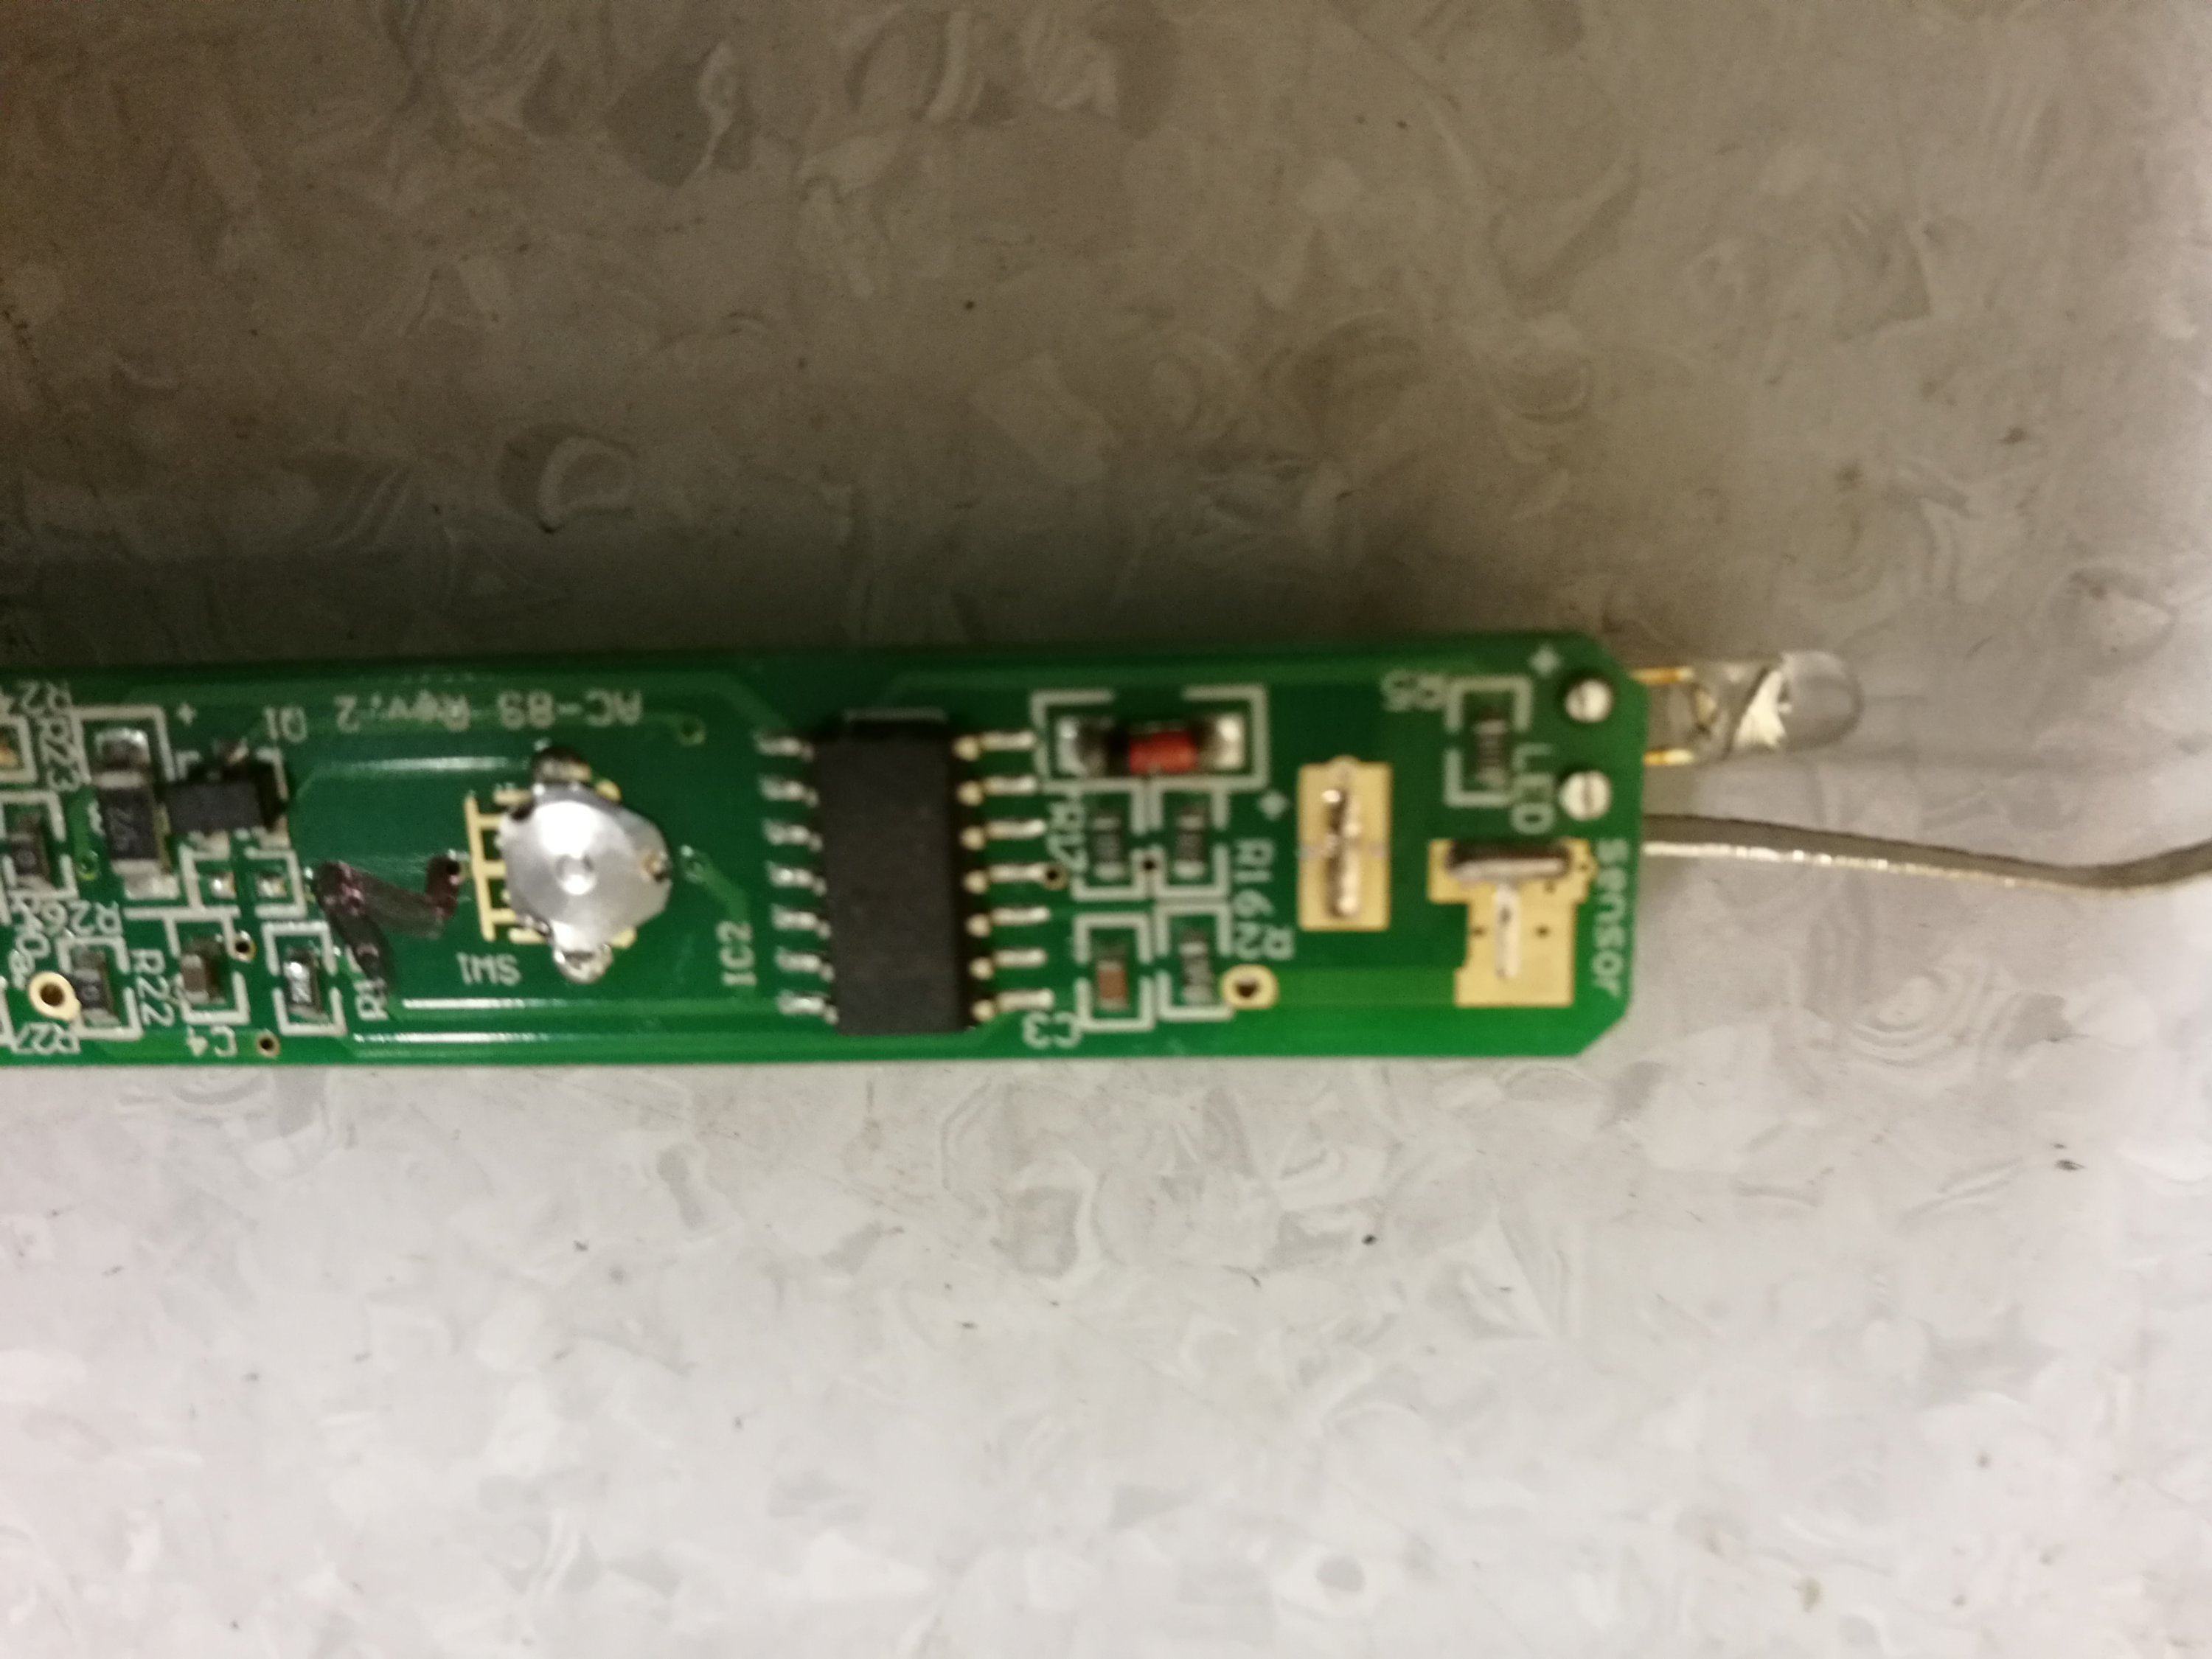
The CD4069 hex CMOS inverter chip is quite classic circuit to build contactless AC voltage detection circuits. I did not trace all circuit on this one, but at quick look the circuit looks somewhat similar in the implementation to this circuit idea from From 100 IC circuits free book:
This circuit will also detects active mains at 15cm but has the advantage of producing a squeal so you can keep your eyes on the job. The mains must be active and will not work when the light-switch is turned off.
In this specific circuit several 4069 IC ic gates are used as an amplifiers and signal detectors. CMOS devices have large input impedance with input currents on the order of 0.01nA, which is quite ideal for a circuit that tries to pick up signals coupled from wire to circuit though very small capacitance through the air.
Links to other circuit ideas based on 4069 chip:
https://circuitdigest.com/electronic-circuits/broken-wire-detector
http://www.freesynopsis.com/2017/08/23/wireless-current-voltage-tester/
https://circuitdigest.com/electronic-circuits/broken-wire-detector
Button x10 sensitivity

18 Comments
Utthunga says:
Hi Tomi,
Nice Experiment! Keep up the good work.
Tomi Engdahl says:
EEVblog #267 – Voltage Detection Stick Teardown
https://www.youtube.com/watch?v=AWlRGLxm7nc
Ever wondered what’s inside those mains voltage detection sticks?
Dave cracks open an IDEAL VoltAware, and giggles at a patent.
Tomi Engdahl says:
Volt stick circuits and tests
https://www.youtube.com/watch?v=ejek0BMiE3s
A look inside a generic Volt Stick clone. I had one of the first Sagab versions with what I think was a metal body, and I recall the circuitry as being similar to this.
They work by amplifying capacitively coupled current with reference to ambient ground (through you).
These units are a handy extra test option for checking if an insulated cable may be live without breaking the insulation. They are not infallible, so all usual safety precautions should be taken.
As with all tools you have to understand how they work and things that can influence their operation. That includes high voltage equipment in the vicinity like neon signs or overhead lines.
They should also be tested before each use on a known live cable.
This video features three circuit variants that can be built with discrete transistors.
While fun to build, it’s more practical to buy one for work use, as a significant part of the unit is the case.
Tomi Engdahl says:
wow !! incredible idea that should be in every home | Simple Inventions | Homemade DIY Ideas
https://www.youtube.com/watch?v=cnp9BpM5Obg
Hello guys in today i will show you how to make Amazing Voltage Detectoror voltage tester ( Non contact tester) this Amazing Invention You Can Make At Home its very Simple this Inventions it is 100% Homemade DIY
Tomi Engdahl says:
WHY did I buy THIS RME INTERFACE?!?
https://www.youtube.com/watch?v=F4-DKB4yQ50
INDEX
0:00 – Intro
0:24 – Why?
1:27 – Features
2:11 – High samplerates
2:37 – ADDA filters
3:35 – Why does this thing sound so good?
4:24 – Do you need an RME interface?
5:39 – Disclosure
6:08 – Support me!
Tomi Engdahl says:
https://hackaday.com/2022/01/10/a-simple-emf-detector-and-electroscope-you-can-make-from-junk-box-parts/
Tomi Engdahl says:
https://hackaday.com/2022/03/29/non-contact-probe-works-better-with-a-little-more-complexity/
Tomi Engdahl says:
Inside a cheap multi-voltage tester (with schematic)
https://www.youtube.com/watch?v=JSLHxKM-kpw
If I had to have a single test tool for electrical maintenance work it would be a voltage tester (test lamp) as they are the best way to check for the presence of voltage reliably by applying a load to the circuit being tested.
Normally I’d suggest a Fluke tester for professional work, but for home use by DIYers or trades that might not use them so much, I’d suggest a cheap and simple set like these.
The cheap sets actually have a big advantage over the higher profile brands in that they often power themselves directly from the circuit, and in doing so load it down enough to shunt stray capacitively coupled leakage current that can cause false readings on some more sophisticated and expensive testers. It also means you don’t have to worry about batteries going flat or leaking and destroying the tester.
That does also mean that these pass enough current to give a strong shock if you hold the end of a probe while sticking the other into a live connection. Use them with suitable caution.
The circuitry in this unit is quite sophisticated, but does lack the reassurance of a fuse. As such I’d only recommend its use on lower energy circuits like home circuits beyond the distribution board, and not in high current industrial equipment. Use a Fluke for the industrial stuff to “tick the box”.
If one of the four rectifier diodes failed in this tester it could cause a high current fault with nothing but the tracks as fuses, and that might not deal with the fault as well as a proper HRC fuse.
The diodes could also have been spaced a little further apart, as the DC side does have full mains potential across it.
The tester does come with tip covers (which you will lose) but does not have shrouds around the probes so only the tips are exposed. I’d suggest adding a bit of sleeving if using in areas where you could bridge onto adjacent grounded metal or other connections.
Tomi Engdahl says:
Pseudonymous maker “ThinkLearnDo” and his father have turned to a pair of NodeMCU boards to assist with a home improvement task: figuring out which circuit breaker goes with a given socket.
This NodeMCU Circuit Finder Takes the Yelling out of Finding the Right Circuit Breaker
https://www.hackster.io/news/this-nodemcu-circuit-finder-takes-the-yelling-out-of-finding-the-right-circuit-breaker-48333a506591
Designed for silent notification when you’ve flipped the right switch, this server-client setup works via Wi-Fi.
Pseudonymous maker “ThinkLearnDo” and his father have turned to a pair of NodeMCU microcontroller development boards to assist with a home improvement task: figuring out which circuit breaker goes with a given socket.
“My dad was having to deal with finding out which plug receptacle is connected to which circuit at work,” ThinkLearnDo explains. “He came up with a simple idea of using NodeMCUs to help solve that problem. This is the result.”
The idea is relatively simple: One of the two NodeMCU boards, which include Wi-Fi connectivity on-board, is configured as an access point and listens out for UDP packets sent to its address; the other NodeMCU connects to said access point and begins transmitting the packets.
So long as the stream of packets is uninterrupted, the NodeMCU’s on-board LED will remain lit. Should one of the two NodeMCUs switch off — because, say, you’ve toggled the circuit breaker controlling the power socket to which it’s connected — the LED goes out.
It’s a neat solution to the problem, though one which has long been solved by commercial socket testers with audible “everything’s fine” alarms — or the low-tech alternative of someone shouting to tell you when a lamp goes off.
ThinkLearnDo’s version, though, has a couple of advantages: It’s silent and won’t disturb others in a shared environment, though flipping circuit breakers randomly until you find the one you need might
https://github.com/thinklearndo/circuitbreaker
Tomi Engdahl says:
Inside an LCD voltage tester (with schematic)
https://www.youtube.com/watch?v=uT-OwmLkpx4
A very simple device. I’ve never really considered that LCDs have an accurate threshold voltage at which a segment will change state. I get the feeling this display has a higher voltage than average.
The use of printed resistors is an interesting evolution from the traditional surface mount ones. I suppose that a variation in carbon ink thickness isn’t too critical as it still results in an equally scaled voltage divider.
Tomi Engdahl says:
Inside a vintage West German 500V test lamp (with schematic)
https://www.youtube.com/watch?v=heGXI3aWV1g
Tomi Engdahl says:
The DEADLIEST Electrical Tester…
https://www.youtube.com/watch?v=MjpA35Lgx9o
How Non-Contact Voltage Testers Work:
https://youtu.be/D2ekBjrHzYo
Tomi Engdahl says:
Volt stick circuits and tests
https://www.youtube.com/watch?v=ejek0BMiE3s
WOW! AC VOLTAGE Detector Circuit?! Can It Be?!
https://www.youtube.com/watch?v=D2ekBjrHzYo
Tomi Engdahl says:
How non contact AC voltage testers work?
https://engineering.electrical-equipment.org/electrical-distribution/non-contact-ac-voltage-testers-work.html
Tomi Engdahl says:
Reinventing the neon test screwdriver
https://www.youtube.com/watch?v=YJJtlWjKUas
The classic neon test screwdriver has been around for a long time. It relies on the sensitivity of a small neon indicator bulb in series with a safety resistor to give a slight glow when touched to live electrical connections by finding a return current path through the user.
It has a few weaknesses. It’s very dim to start with, but even dimmer when the user is well insulated from ground, some have inadequate safety resistors, and it’s a very vague test that is not always reliable.
With the sensitivity of modern LEDs I thought it might be worth testing to see if they could be substituted in place of the original neon indicator to provide a brighter indication.
Note that this experiment involves direct electrical contact with mains referenced circuitry. It is imperative that the resistor is chosen with safety in mind, and that the internal wiring can’t short out the safety resistor accidentally.
Tomi Engdahl says:
Surprisingly complex banned voltage detector
https://www.youtube.com/watch?v=U6vrFSSAPmg
This is an early NCV (Non Contact Voltage) detector that uses a ceramic PCB with printed resistors.
I wonder if they used a ceramic substrate to give high stability at the very low currents involved in sensing electric fields.
The quality of the construction was also the downfall of the early units, since they used a rugged metal body. That feature was pounced on by the department of highly improbable electrical accidents, as posing a risk to unskilled labour who might shove it in amongst random live metalwork.
The principle of these things is that a capacitively coupled field is amplified and then used to drive an LED. In this particular unit there is a six-gate schottky inverter used to filter AC (already done by the detection method) and then drive a charge pump to get a decisive LED indication of a valid detection.
I get the feeling that the person who designed this went by the book and built it out of standard logical sections, but in doing so may have overengineered the design slightly.
I also looked at a much simpler version which uses one resistor, three cheap transistors and an LED to achieve the same effect. The cheaper version is the most common these days, but it’s worth noting that some other clone units have clearly been “inspired” by the circuitry of the original design.
Tomi Engdahl says:
Fluke 1AC Voltage Detection Stick Repair
https://www.youtube.com/watch?v=VZuebPVrzI8
Repairing a failed Fluke 1AC Voltage Detection Stick
Tomi Engdahl says:
Ghost detector
https://youtu.be/oA5cuLMHIsY?si=JStQo66S3mJ8_NqO